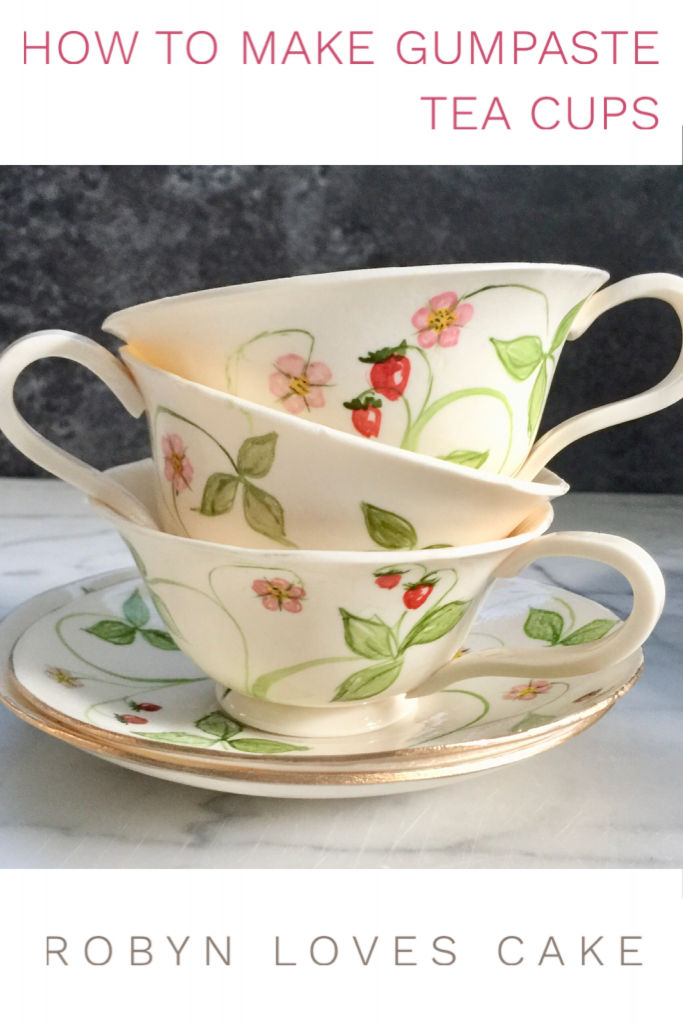
Adding a gumpaste tea cup to a cake for a tea party or Mother’s Day is such a cute touch! They look so beautiful and impressive- no one will believe they are edible, which makes them a fun conversation piece.
They are not difficult at all to do, but you’ll want to start them several days before you need them, since they need lots of drying time between steps.

You’ll need:
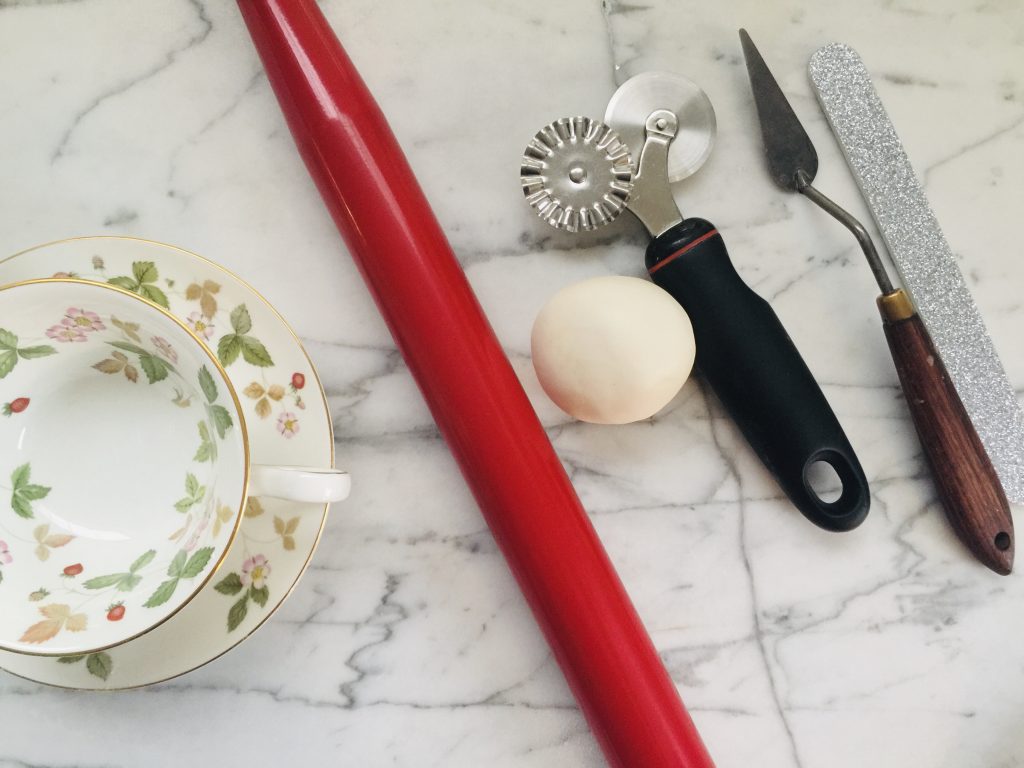
- a tea cup and saucer to use as molds. This one is perfect because it’s smooth and not too deep.
- gumpaste (and cornstarch to prevent sticking)
- rolling pin
- 5” circle cutter
- rolling pastry cutter
- nail file
- gel food colors for whatever design you’re doing, and everclear or vodka for thinning
- corn syrup and vodka or everclear, for glaze
make the basic shapes


Roll some gumpaste out and cut with a round cutter (mine here is 5”). Dust generously with cornstarch, and lay in the cup dusted side down. Gently rub the paste, gradually pushing the center down to the bottom of the cup. Set aside to dry.


Roll out another circle of gumpaste, and lay your saucer upside down on it. Carefully cut around it with the pastry cutter. Smooth the edges with your fingertips, and dust generously with cornstarch. Flip onto the saucer, emphasizing the center indentation with your fingertips. Set aside to dry.
Let both pieces dry at least overnight.


Use the coarse side of a nail file (just get a cheap one and stash it with your cake stuff) to refine the edges of both pieces.


For the little pedestal for the tea cup, roll a bit of gumpaste about 1/4” thick, and cut out a bit smaller than your cup. Firmly press the edges down while rubbing, to make a sloped edge. Lay your cup upside down, and attach the foot with gum glue.


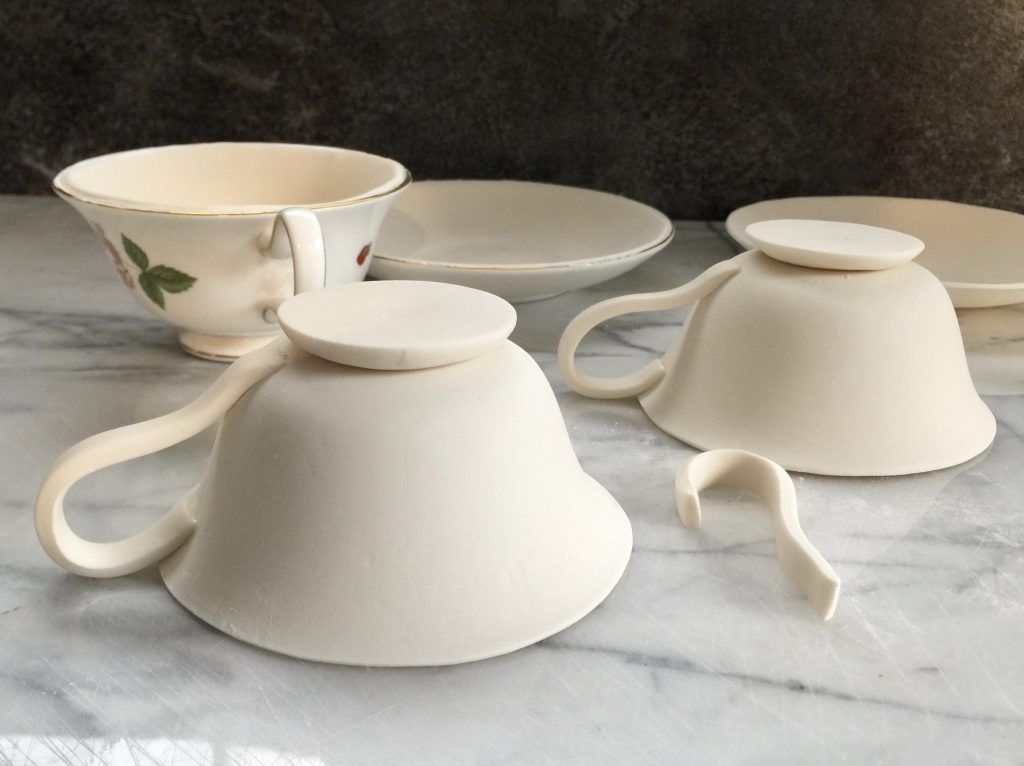
Cut a strip of gumpaste for the handle. Hold it against the cup to get the shape right, and lay it down to set up a bit. How long will depend on the humidity in the room, so check after about ten minutes. When it’s a bit firm but still flexible, attach to the cup with gum glue. I like leaving the cup upside down for the handle to dry, because that supports the handle nicely. Let sit overnight.
glaze both pieces
Glazing led to one of those forehead slapping moments, lol. For years I struggled with painting things I wanted to glaze. It didn’t occur to me to do anything besides paint my design, then glaze (because I want the whole thing shiny right?). I tried everything to keep the design from smudging, including spraying glaze over it with my airbrush, but nothing worked that great. Finally I thought forget it, let’s try glazing and paint on top of that…if it compromises some shine oh well. But I don’t think it does! I can’t tell a difference, except it’s sooooo much easier!


Mix up your glaze from equal parts corn syrup and everclear, and brush a thin layer over both pieces. Round cutters make ideal holders while they dry.
add your design


The glaze may stay a bit tacky, but that’s perfectly fine. Thin your food colors with everclear and paint with them just like they are water colors. I wanted to use this Wedgwood strawberry pattern; I did simplify it and it was still a bit fussy but totally worth it IMO!

I’d love to see the designs you guys do!
Click here for some great cake recipes to put these on top of!
Happy baking!!