The thing that got me into cake decorating in a serious way almost 20 years ago was sugar flowers. I was instantly and completely enchanted by an article about Ron Ben-Israel in Martha Stewart Living, bought all the equipment listed at the back of the magazine and that was it! It’s my first love, so I’m always pleased when I get to make them. Gumpaste peonies are my favorite I think- they are time consuming (mostly because of the drying time between steps) but forgiving and fun! And they are just WOW on a cake.
Start these in good time ahead of your cake…each step takes minutes, but there’s lots of drying time between. I always allow at least three days, to be safe (you can do them much further in advance than that though!)

The video below shows my whole process.
you’ll need:
- gumpaste
- 18 gauge floral wire
- pliers
- small rolling pin
- set of peony cutters (these are the ones I use the most out of about 4 sets- they also come with some leaf cutters I use a lot)
- ball tool
- foam petal pad
- gum glue, soft paintbrush
- apple tray or plastic soup spoons
step by step
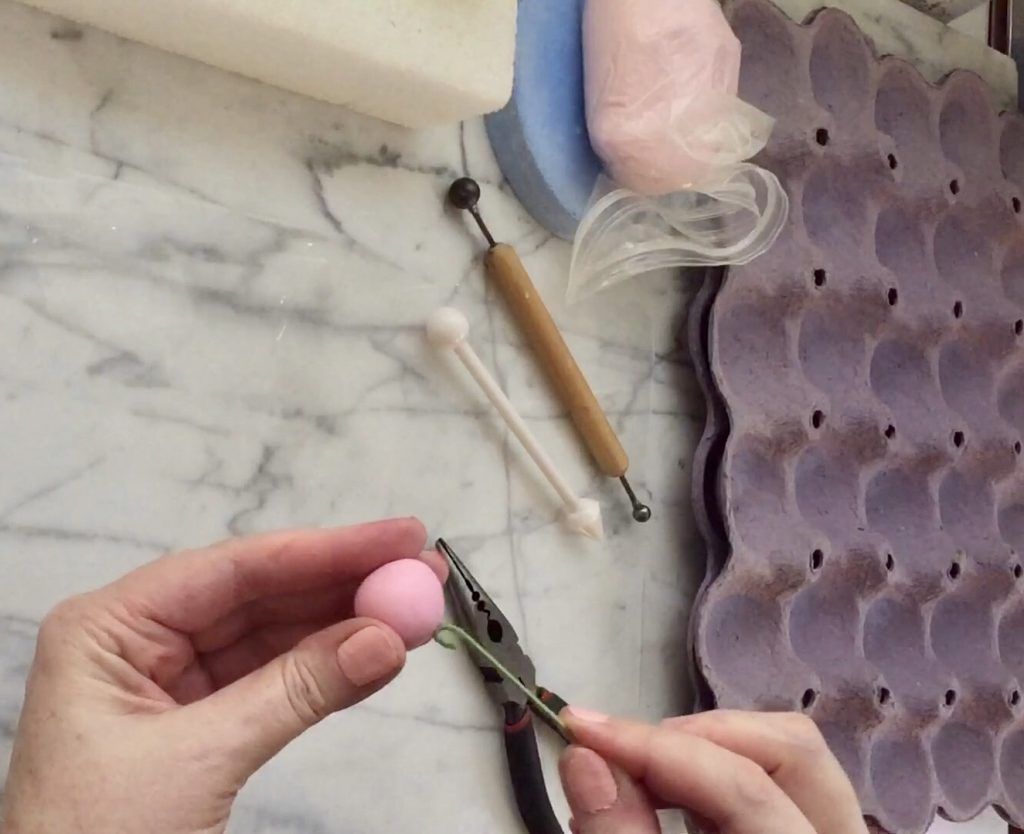


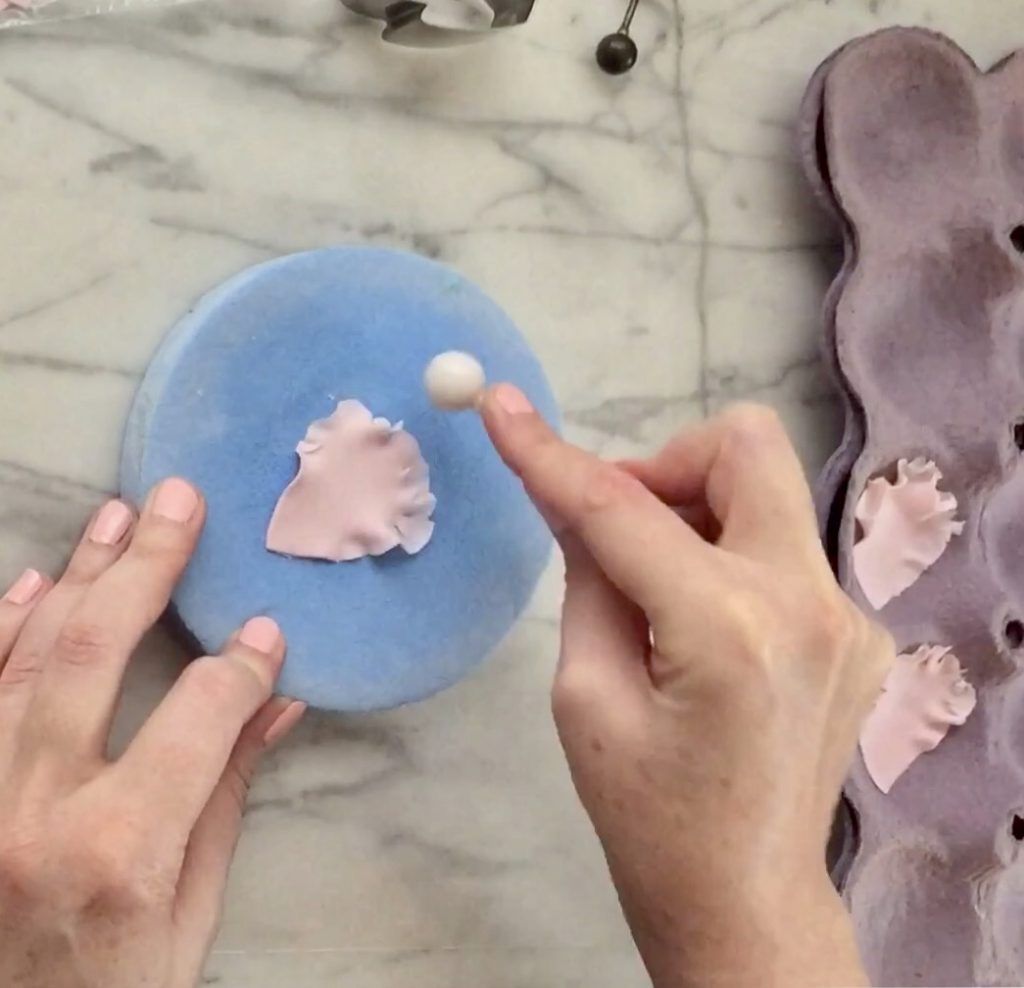
Roll out a ball of gumpaste about the diameter of a quarter, and insert an 18-gauge floral wire which you’ve made a little hook in with needle nose pliers and moistened with gum glue.
Cut out several petals with the smallest cutter in your set, and ruffle the edges on a foam pad. I press quite hard, to really frill them dramatically (the video shows this). Foam pads come in a wide range and this blue one has been through the wars with me, lol! Honestly it’s probably made a thousand flowers! It’s the exact right firmness for this; I’ve linked it in the supplies list as well. Lay the petals in your apple holder or soup spoons to set up a bit. The time needed depends on the atmosphere of your room, as well as your gumpaste- I usually wait about ten minutes. This helps the petals hold their shape a bit better.
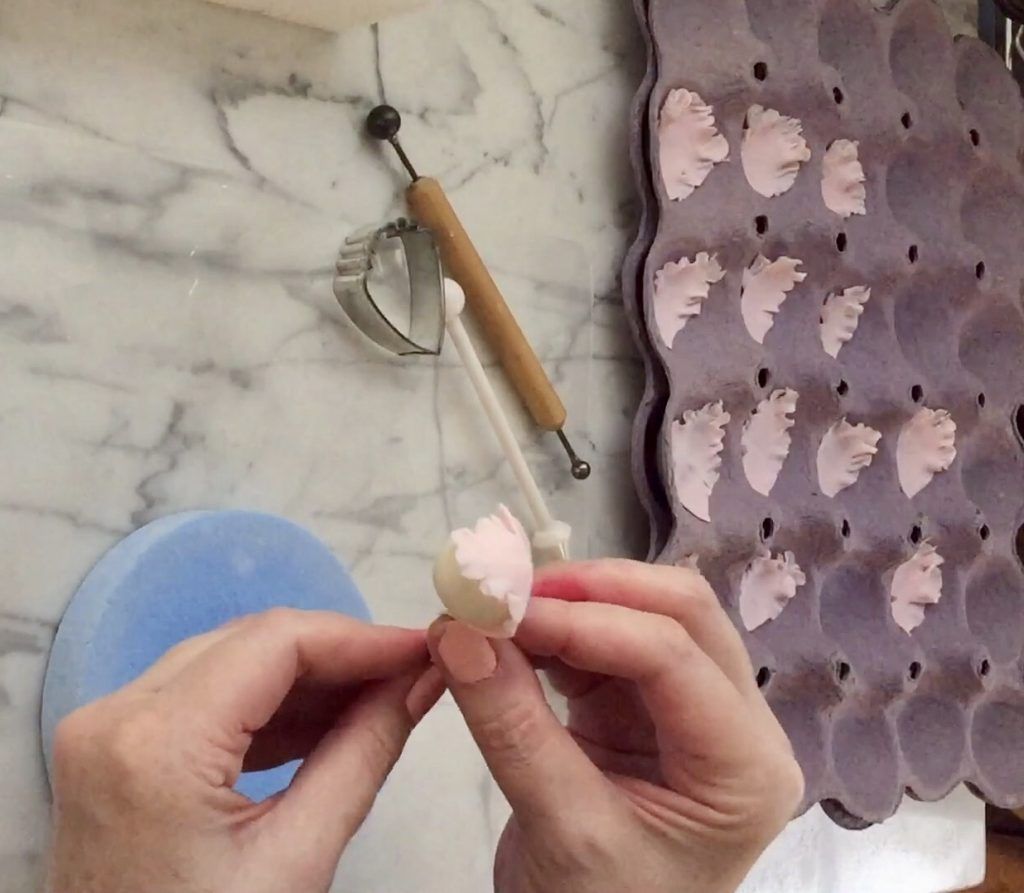

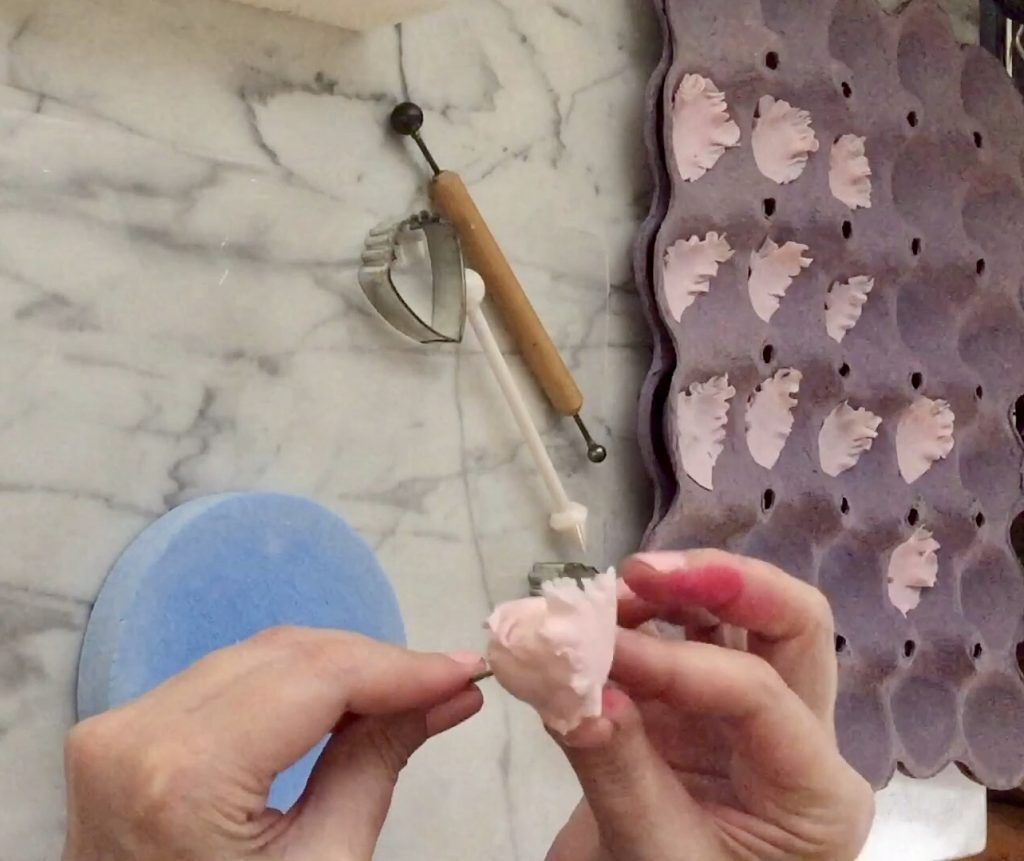


Moisten the ball with gum glue (gum traganth mixed with water) and wrap 3 petals around it, overlapping them. Stick the wire into a styrofoam block and let dry for at least an hour (I like to let them dry completely between layers).

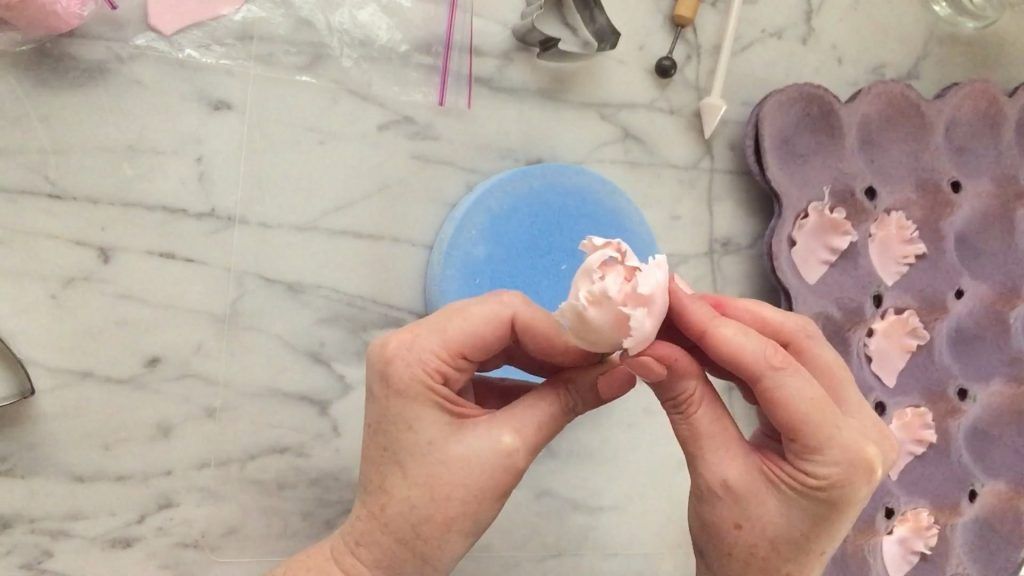
Go up a size, and repeat.


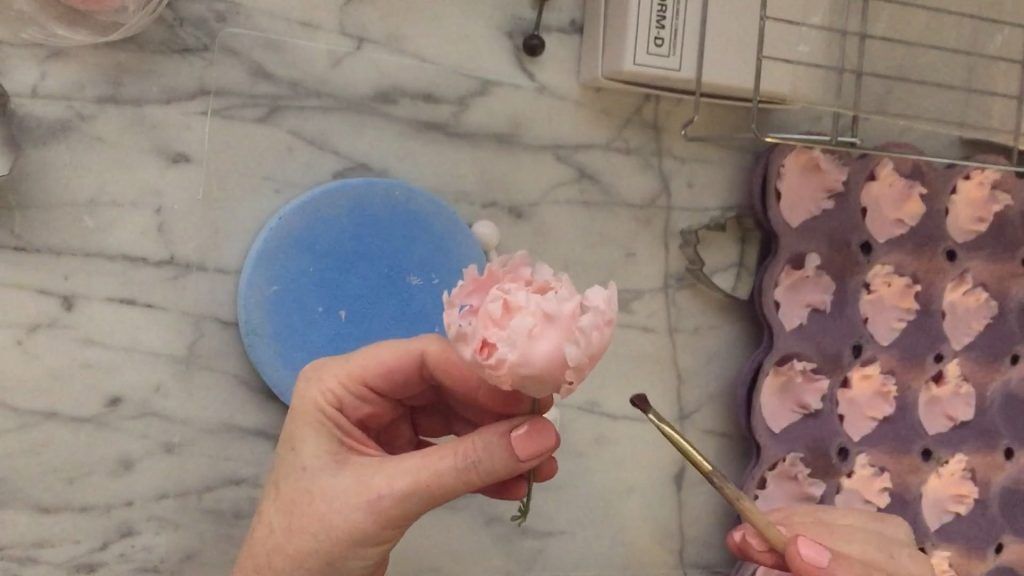
After a few layers of petals, keeping the flowers upright stops working as well- the petals tend to fall. So from that point I hang them upside down to dry in between steps. A cooling rack works great for this- I use small gift boxes to raise it up a bit from the counter.

do you need to wire the gumpaste peony petals?
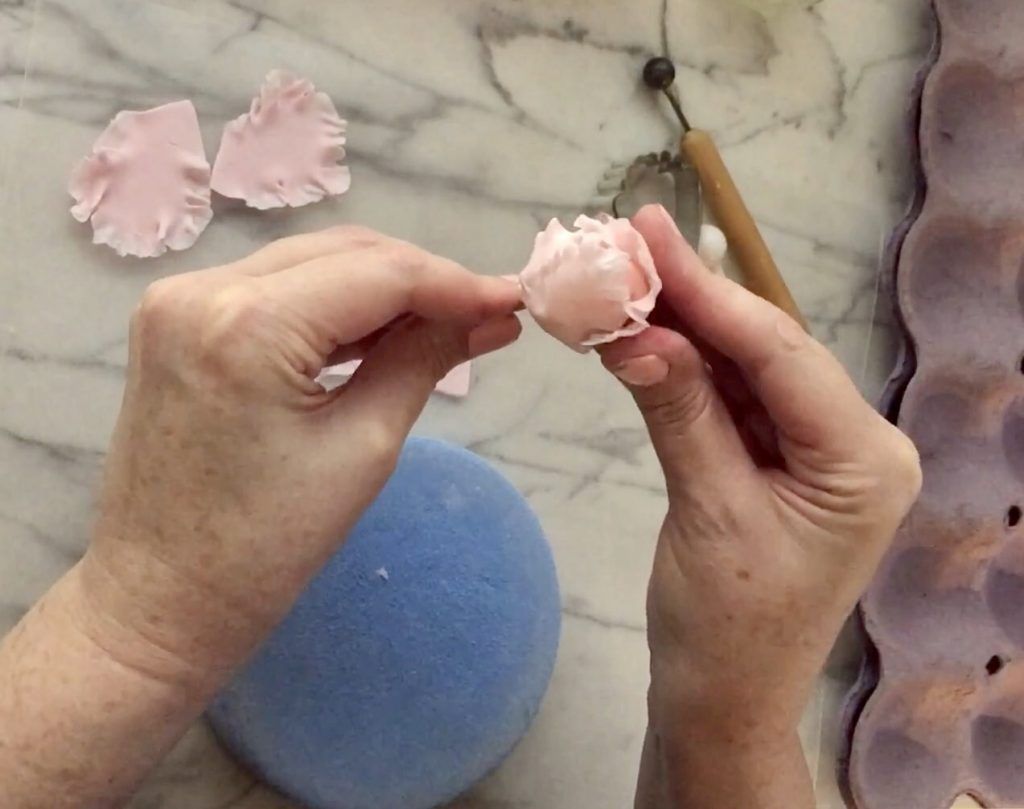
So as you can see, I’m not wiring the petals. Sometimes that is necessary (if you need the flowers to be absolutely complete before placing them, for instance) but I find it a bit fussy so if I can avoid it I do!
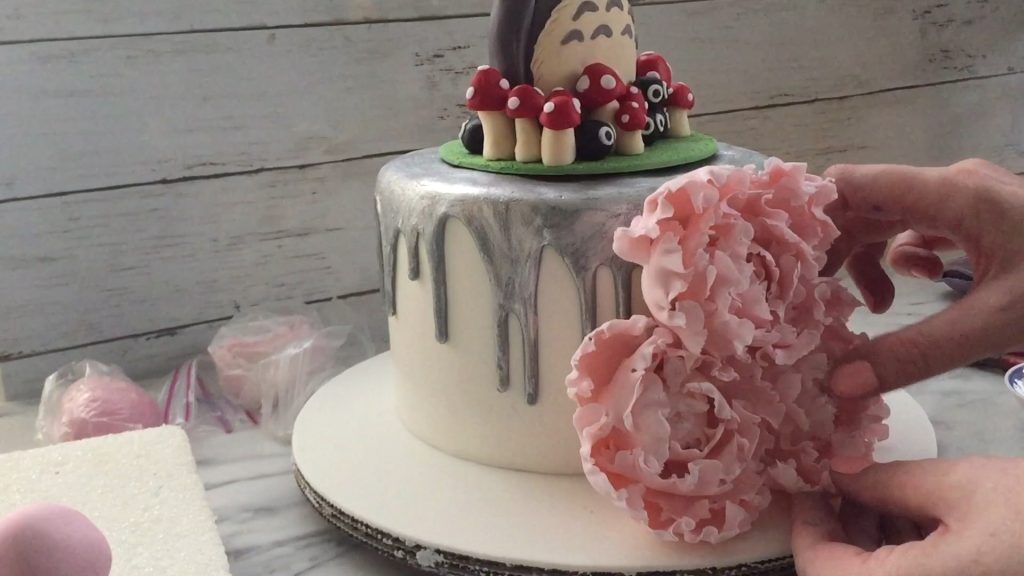
I find it much quicker to place the outer petals on the cake itself. You can still do everything ahead of time, making a bunch of the largest petals and letting them dry. Then you can just place them around the flower centers; I find melted candy melts the best method to stick them in place. The photo to the left above is the almost completed flowers, with the right one showing the final petals being placed.
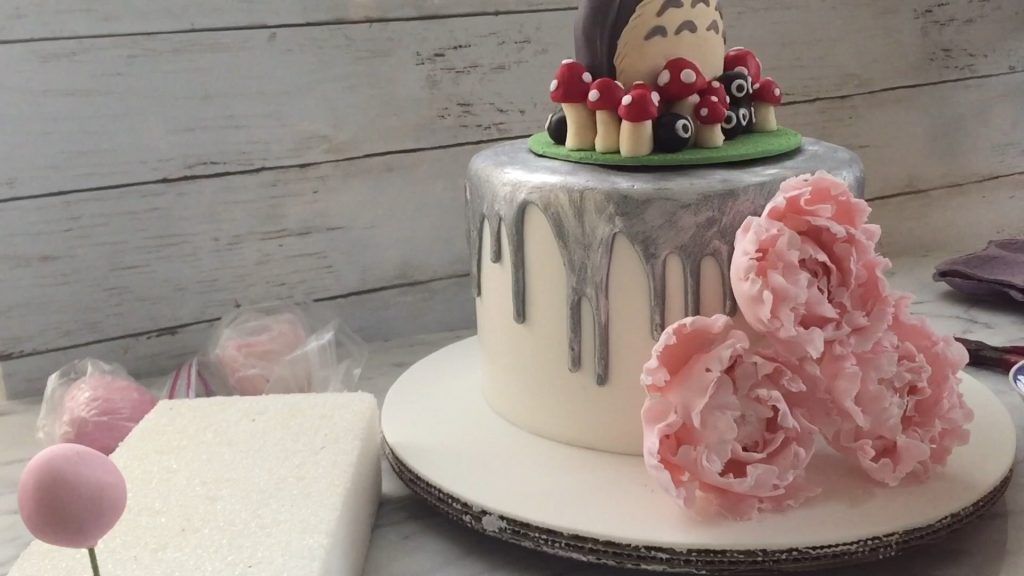
So satisfying!
A few cakes to put them on!
Happy baking!!