This Santa hat cake is sooooo cute for the holidays, and is the perfect cake to do if you’ve been wanting to dip your toe into sculpting! It’s *super* forgiving, and just needs like three cuts to make the shape. Low effort, high impact! This tutorial will guide you through it!
I used one 7” layer and two 6” layers of my favorite chocolate cake. I put a thin layer of dark chocolate ganache and a thick one of peppermint buttercream in between the cakes. Yuuummmm.
other things you’ll need:
- sharp serrated knife for carving
- buttercream for crumb and finish coats
- small offset spatula
- flexible cutting mat
- a turntable (makes frosting much easier)
- red fondant (I highly recommend getting pre-colored rather than dying your own) and white
- rolling pin and cornstarch for rolling out
- pizza cutter
- lollipop stick or skewer
- white sanding sugar and corn syrup
- 1” paintbrush
sculpt the hat shape
What I do to make handling the cake easier is put a same-size cardboard circle under it, with another slightly bigger one below that. I glue them together with royal icing or melted chocolate, so the cake doesn’t shift around. Then later, when I want to transfer it to a serving platter, I run a spatula between them to separate them.
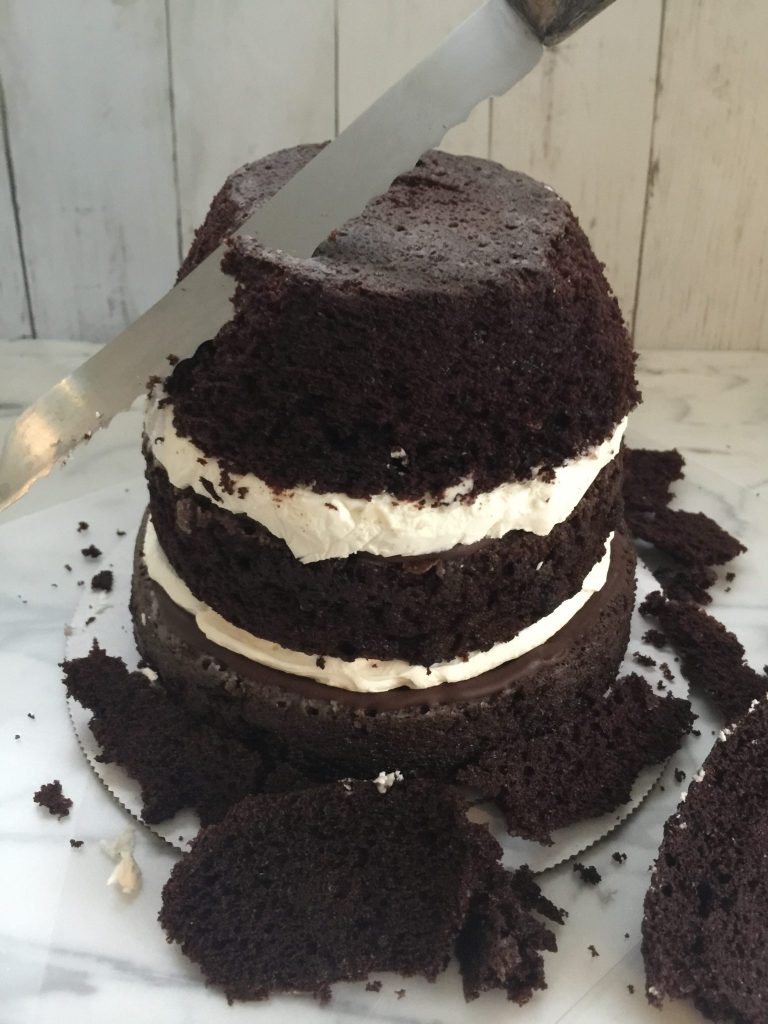
Start by trimming off the edges all around the top.
Make a divot across the top, then deepen it on one side to slant down a bit. You’re making the shape of the cap flopped over.
Cut deep grooves for the folds in the cap. When sculpting cake one thing to keep in mind is you need to exaggerate your cuts…even a thin layer of buttercream softens shapes, so I made my folds deeper than I wanted them to be at the end. This sounds contradictory, but the other advice I have is to take off a bit at a time, since it’s much easier to take something away than to build it back up with buttercream or ganache. Once you’re sure of each cut though, go for it!
crumb coat
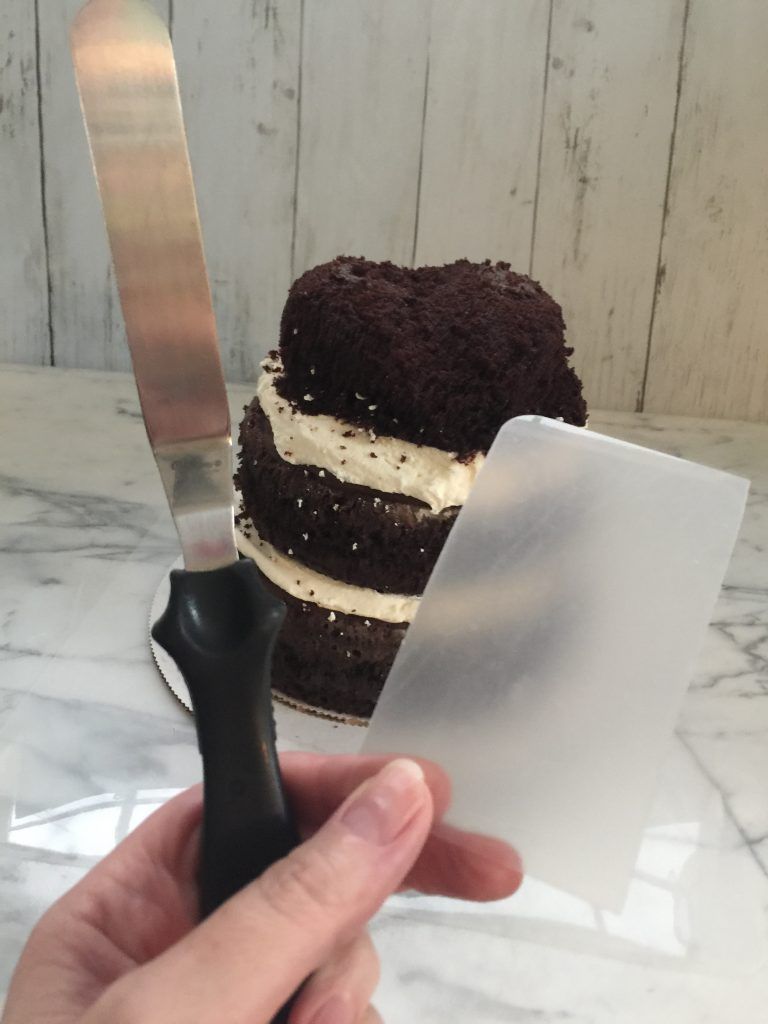
Since we’re doing curves, I needed my trusty flexible cutting mat (grab one at the dollar store and cut it up). A small offset palette knife is the perfect tool for getting the frosting on there, and the flexible plastic is perfect for rounding off and smoothing.
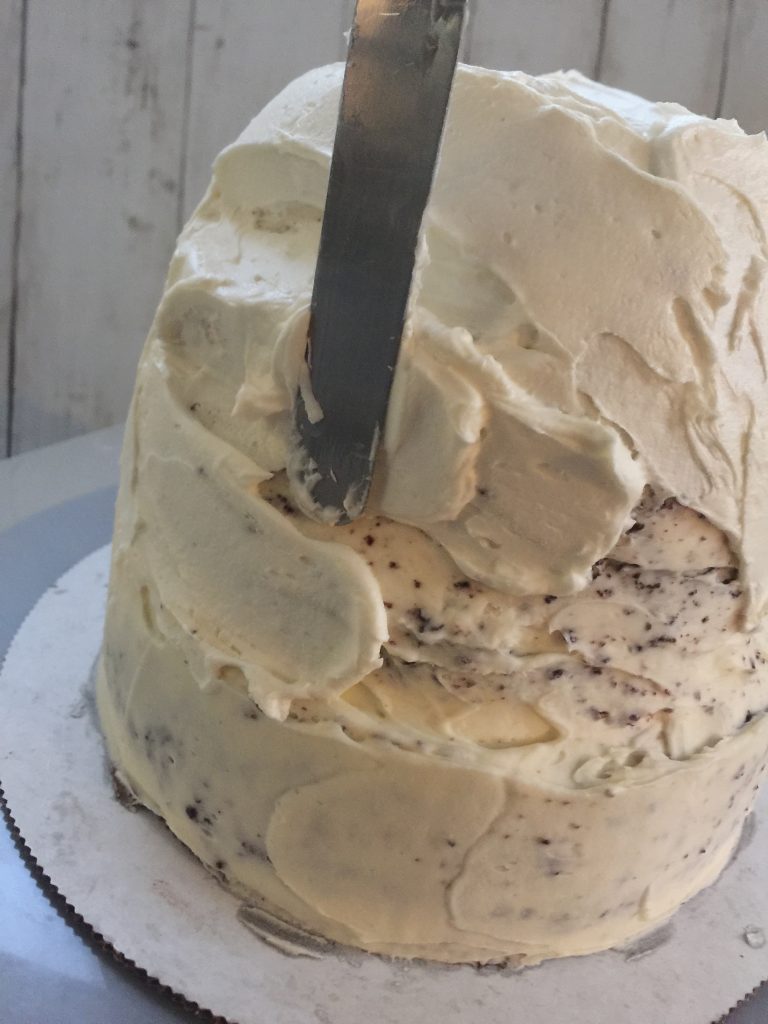
After you get the rough coat on there and smooth it a bit, chill for 30 minutes or so to harden the frosting. That way, once you coat it a second time, you can get it really smooth. This cake is really moist so the crumbs get everywhere and it looks like a disaster at this point 😂 but trust me, more buttercream can fix anything!
finish coat
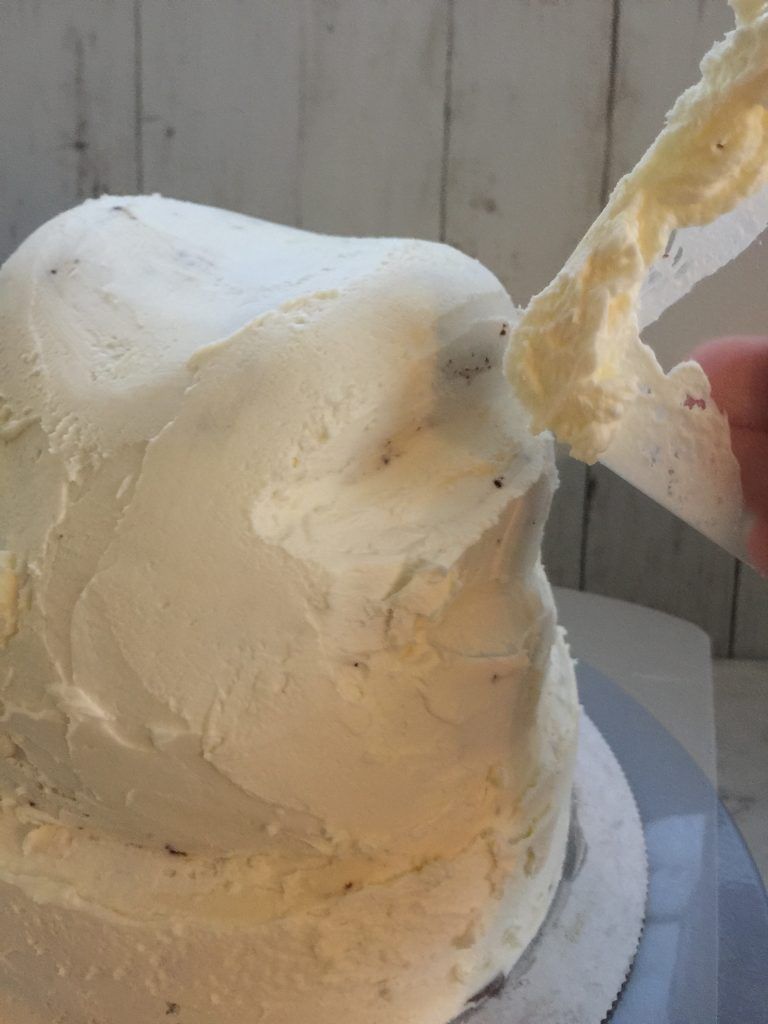
Add the second coat of frosting, and use the plastic to smooth it as shown. The corner with the rounded edges is super handy for the folds. Scrape the plastic off between passes, and take your time. Bend it to fit the curve you’re working on. It can help to chill the cake for a few minutes, if you find that too much frosting is coming off because it’s too soft. You don’t want to let it get completely hard though, so just a few minutes.
Once it looks about like this, chill it until the buttercream is firm, and use your hands to smooth it the rest of the way. Just briskly and gently rub them over the cake. It’s the best and fastest way to smooth out any little ridges or bumps. Again, since we are doing a fabric cap, it does not have to be perfect! Imperfections will just look natural, so no need to take much time over this.
cover with fondant
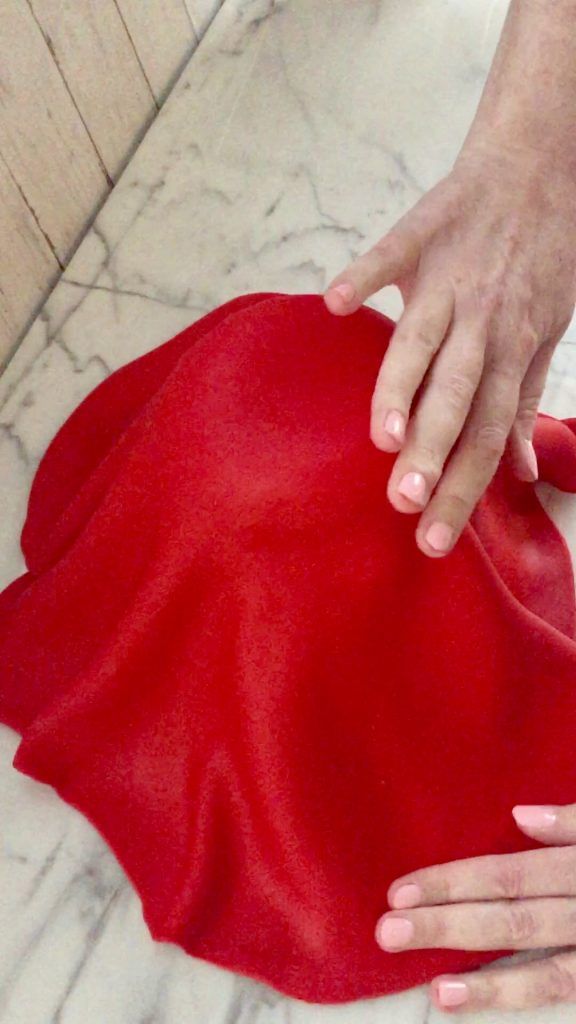
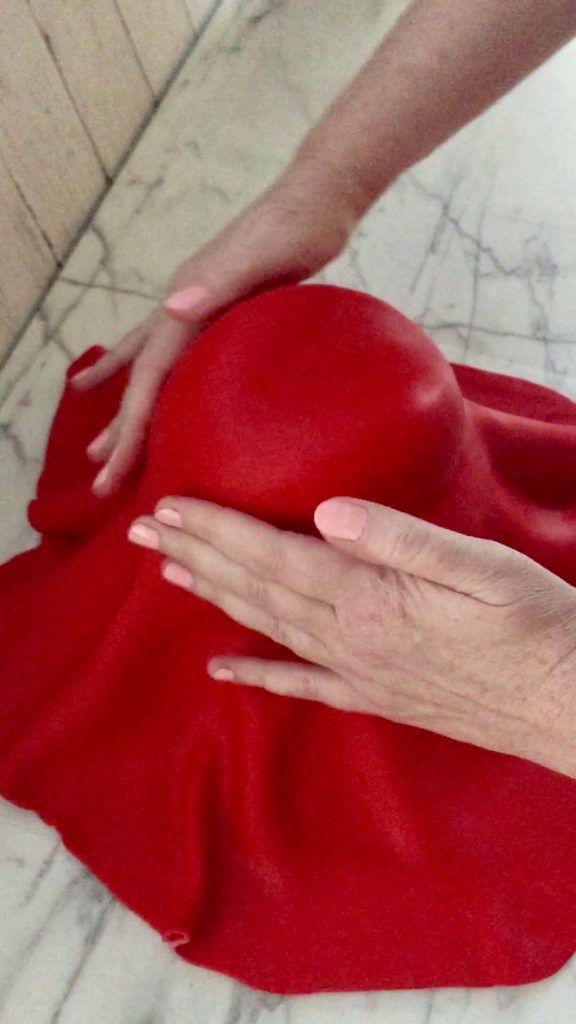
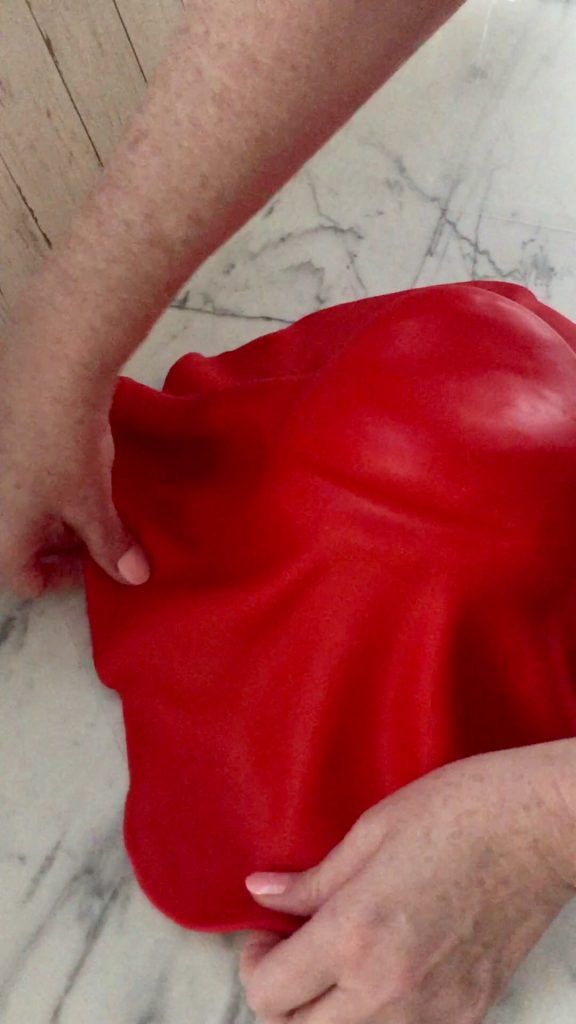
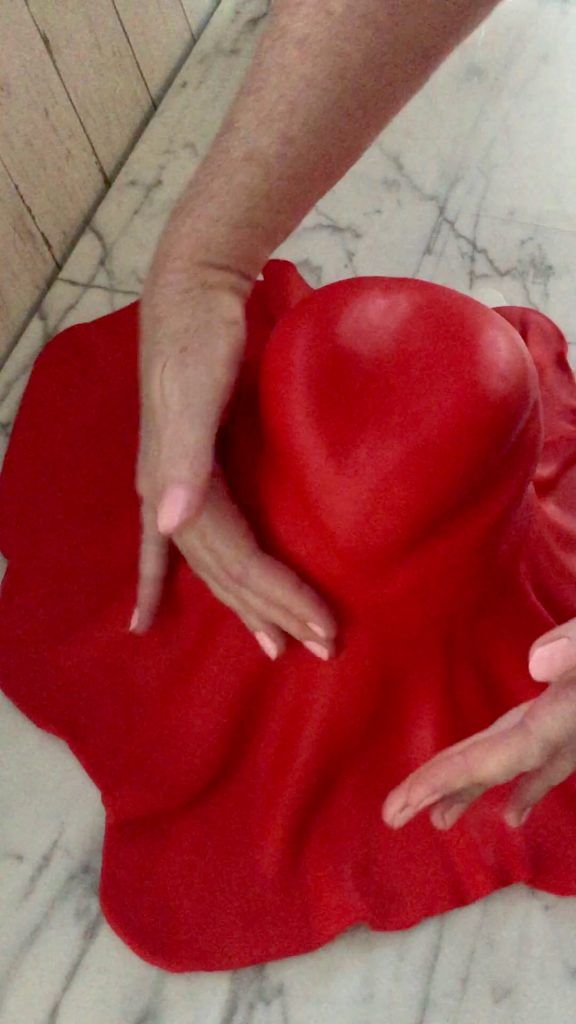
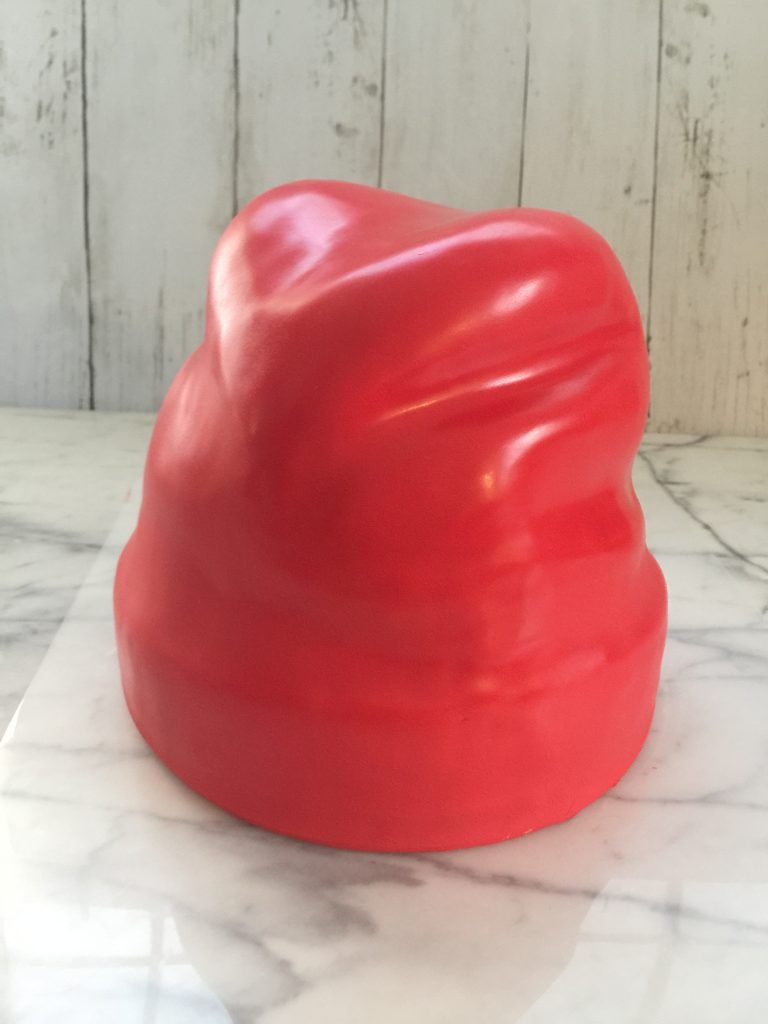
This can be the most daunting bit, but with a little practice it’s easy and enjoyable! The above video shows me doing this fondant in real time, so that may be helpful. This is a good shape for beginners, since there are no edges to worry about getting crisp!
Once you’ve rolled it out and laid it over the cake, the main thing is to work quickly, because the fondant will dry out. Work gently, and from the top down, smoothing to prevent air bubbles, and to emphasize the shape you’re going for. Gently pull the fondant away from the cake at the base as you go, to prevent pleats. Trim the excess around the base with a pizza cutter.
add the trim and pom pom
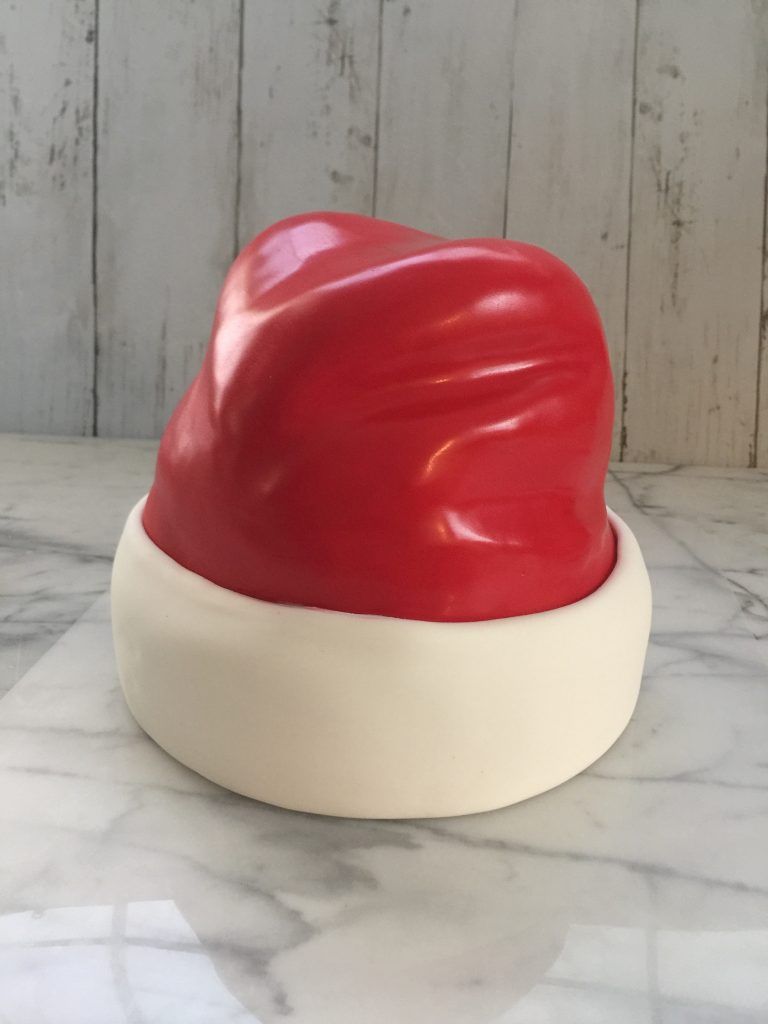
I messed up the video on this part sorry! It’s super simple though. Roll out a strip of white fondant and cut it to about 2” wide. For reference, the cake is about 7” tall. I use a thin ribbon to wrap around the cake and mark how long the strip needs to be. Just wrap the strip around the base, and trim, smoothing the seam (position that in the back).
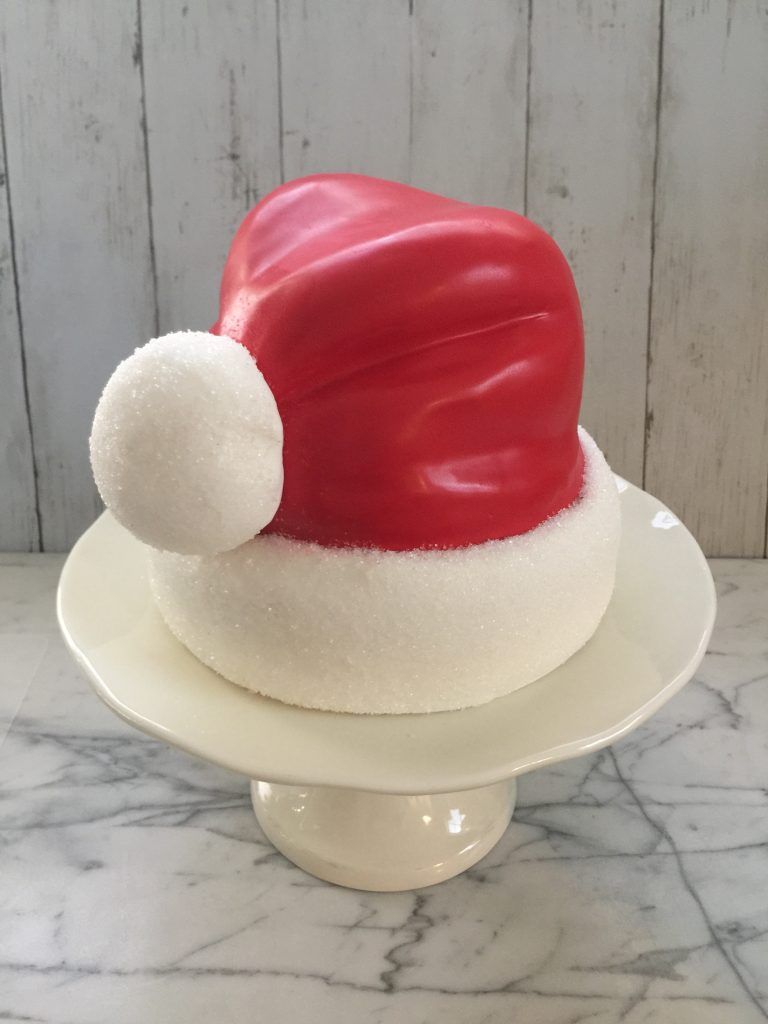
For the pom pom, place a lollipop stick pushed in at an angle, where you’d like the pom pom to be. That will hold it in place- just roll a ball of white fondant and stick it on there.
add sanding sugar to the trim
This doesn’t take long and it’s such a good touch- it adds texture and sparkle. Just put the cake on a rimmed tray to minimize mess, brush corn syrup on the trim, and sprinkle the sugar on. Some may stick to the red, depending on the humidity- just use a dresden tool to scrape it off.
And there’s your cute as can be creation!
I sincerely hope you find this Santa hat cake tutorial useful. As always, please comment with any questions!
Happy baking!!


