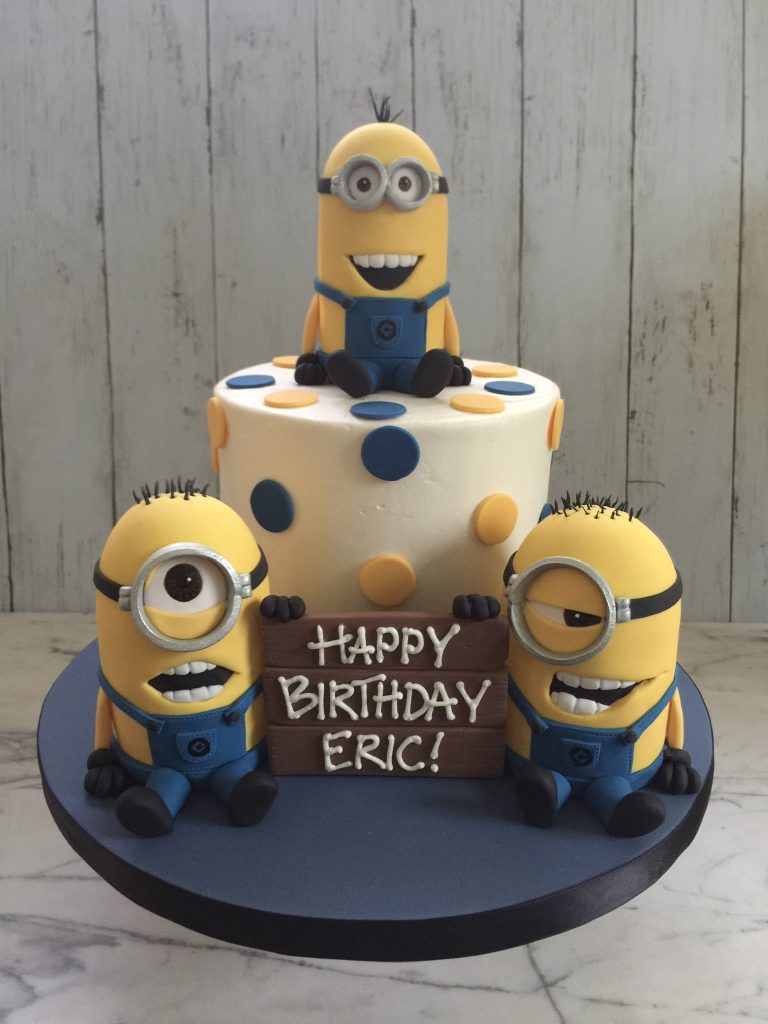
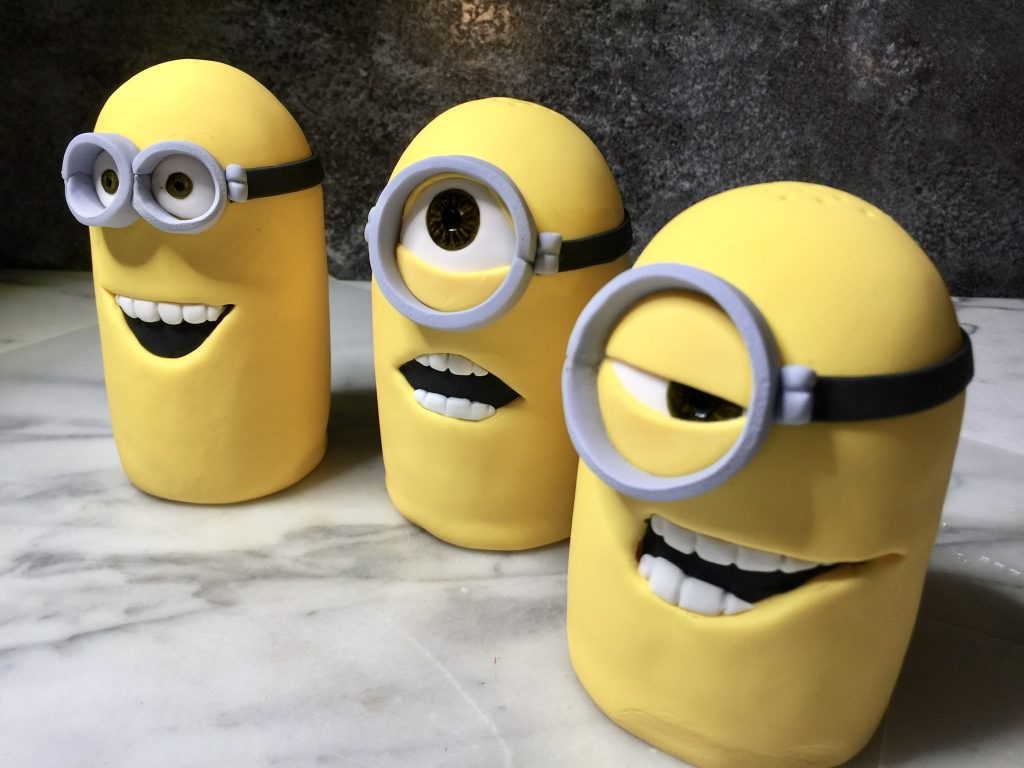
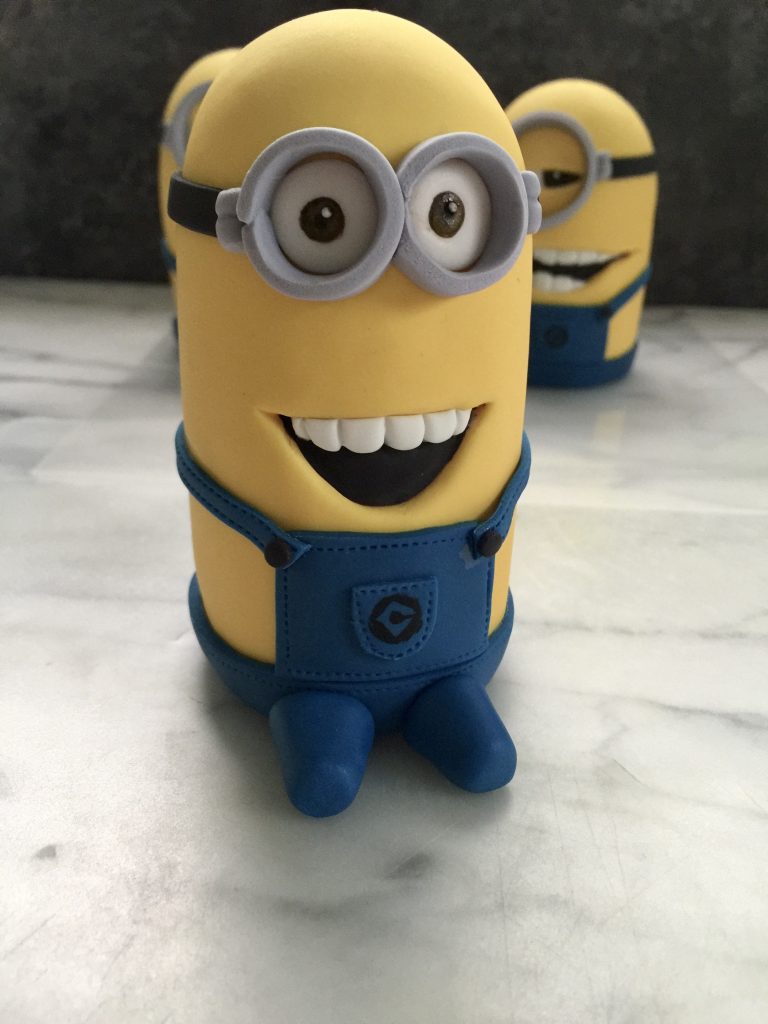
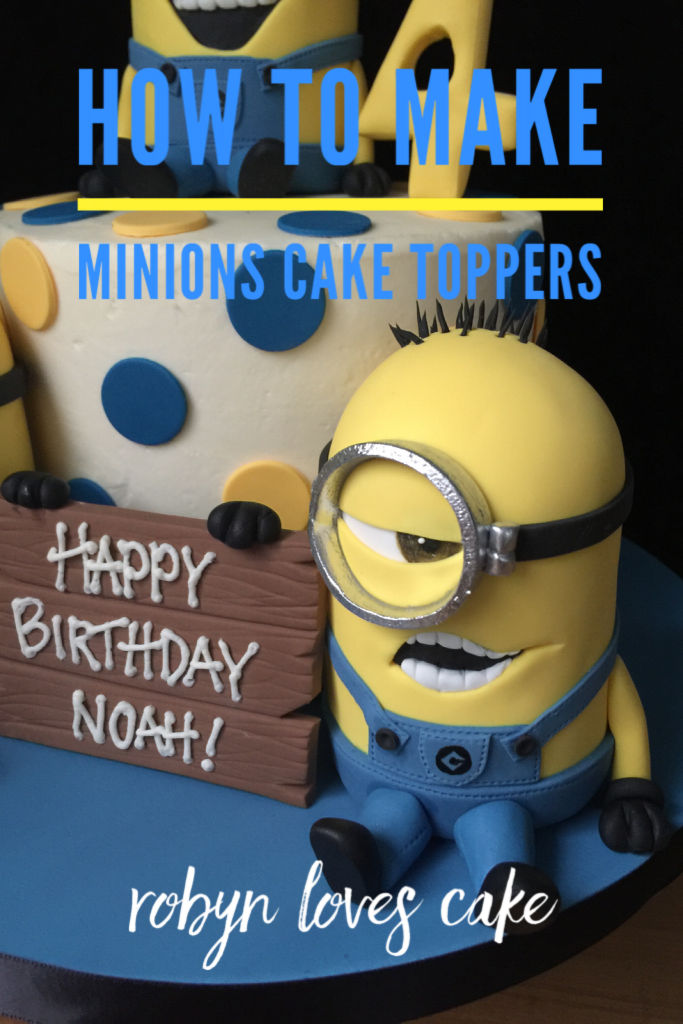
I absolutely love Minions so making them as cake toppers is a natural for me- they are just so cute and fun! I couldn’t wait to share this tutorial with you. For this design I do three guys, but depending on how much time you have, just one is super cute too. My buddeeeeee!
As far as I’m concerned, any party would be improved by these guys 😍
make the basic shape

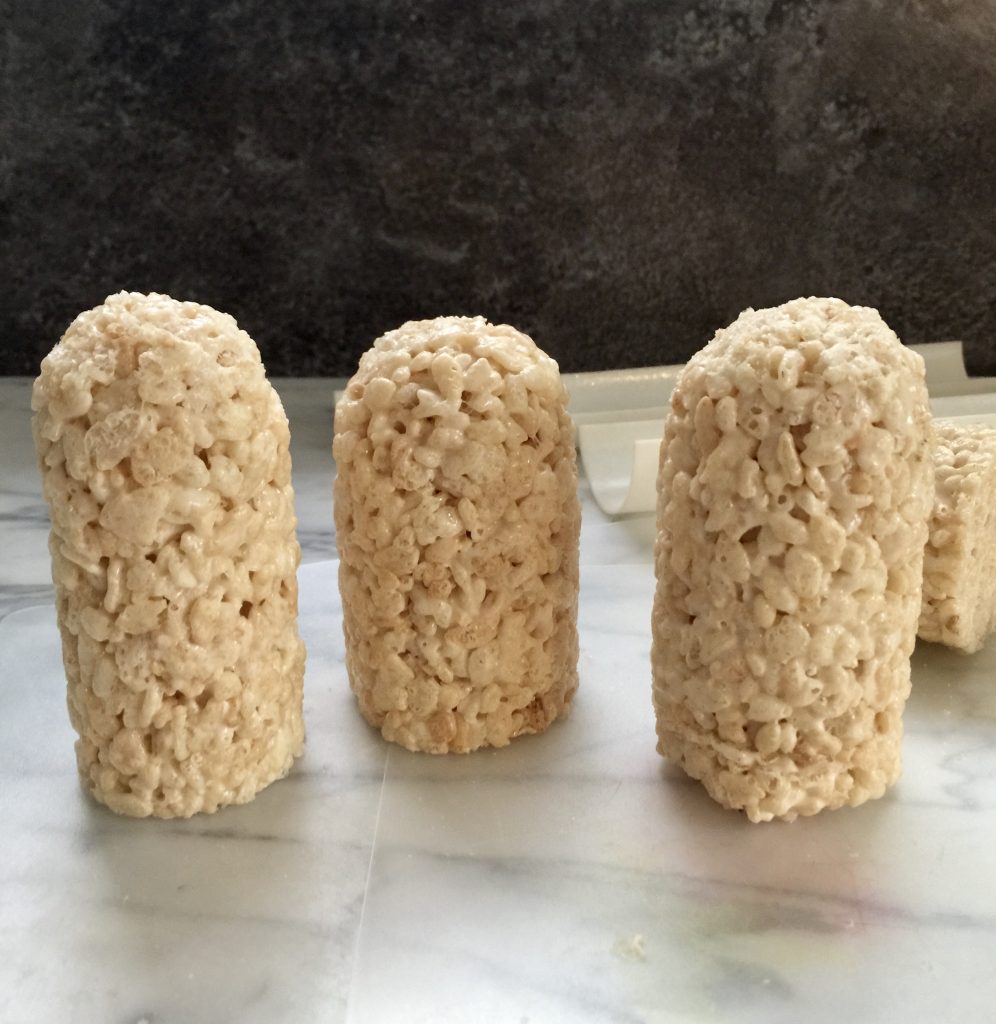
Make Rice Krispie treats by melting 3 tbsp butter and 10 ounces marshmallows in the microwave in a big bowl (60 second intervals until melted). Mix in 6 cups of Rice Krispies. Let cool a bit, and shape into a log. Dampen your hands with water or coat them with shortening to prevent sticking. I have these old drying forms for drying gumpaste leaves etc, and I kind of roll the log around to smooth it as much as possible, and make sure it’s completely even.


Another way is to press your Rice Krispie treats into a pan and smooth the top with a fondant smoother so it’s as even as possible. Cut rounds and stack them, sticking them together with ganache.
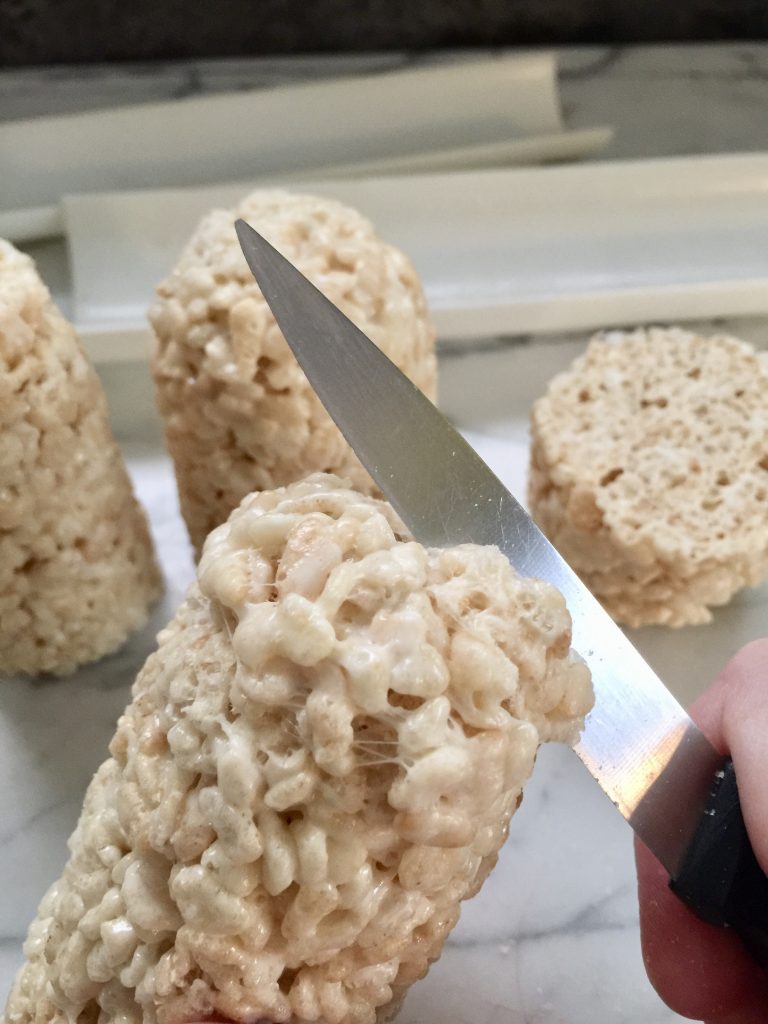
Cut it to the height you’d like, and trim the top to round off the edges.
For this design I make them between 4 and 5” tall, and between 2” and 2 1/4” inches in diameter.
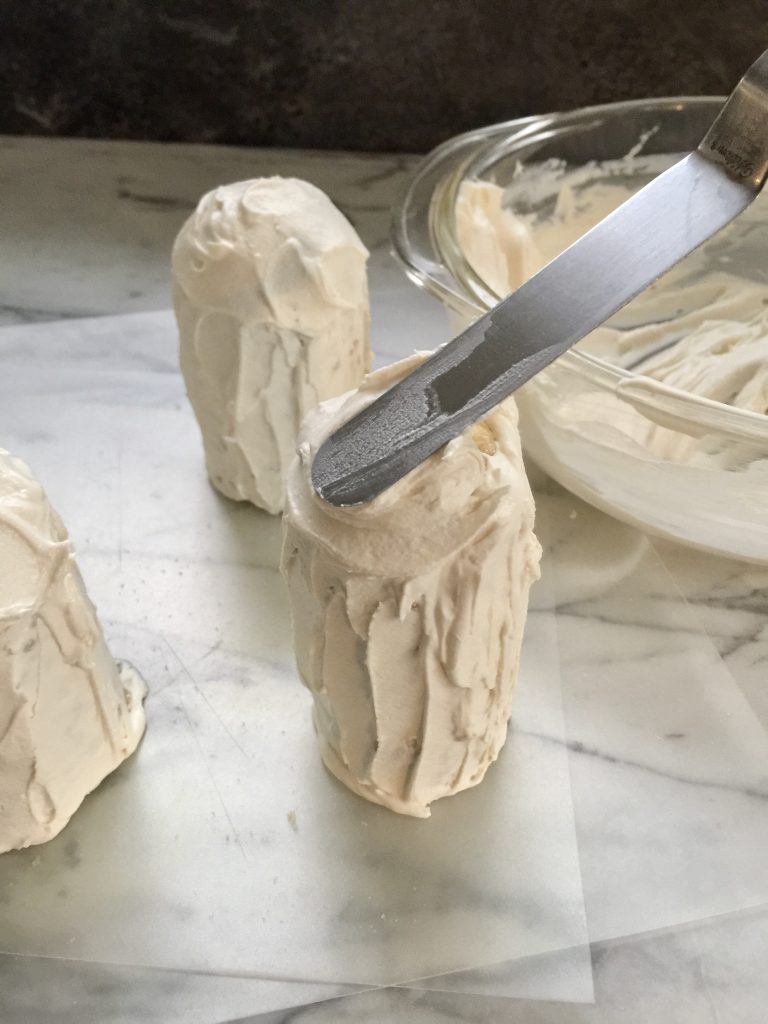
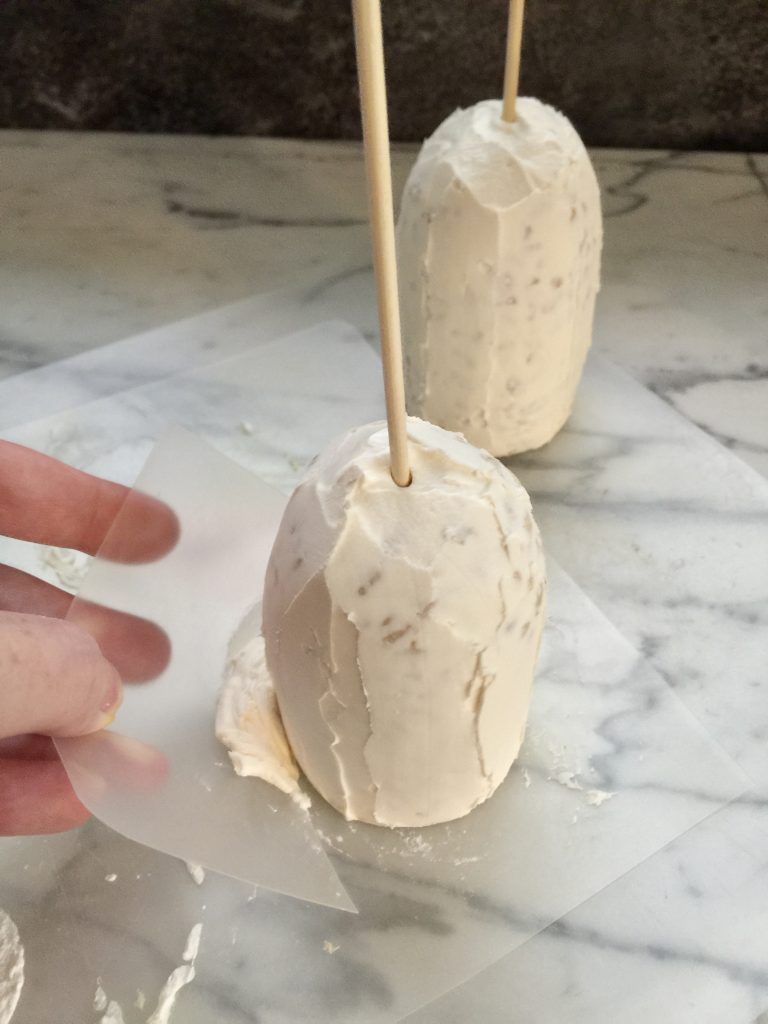


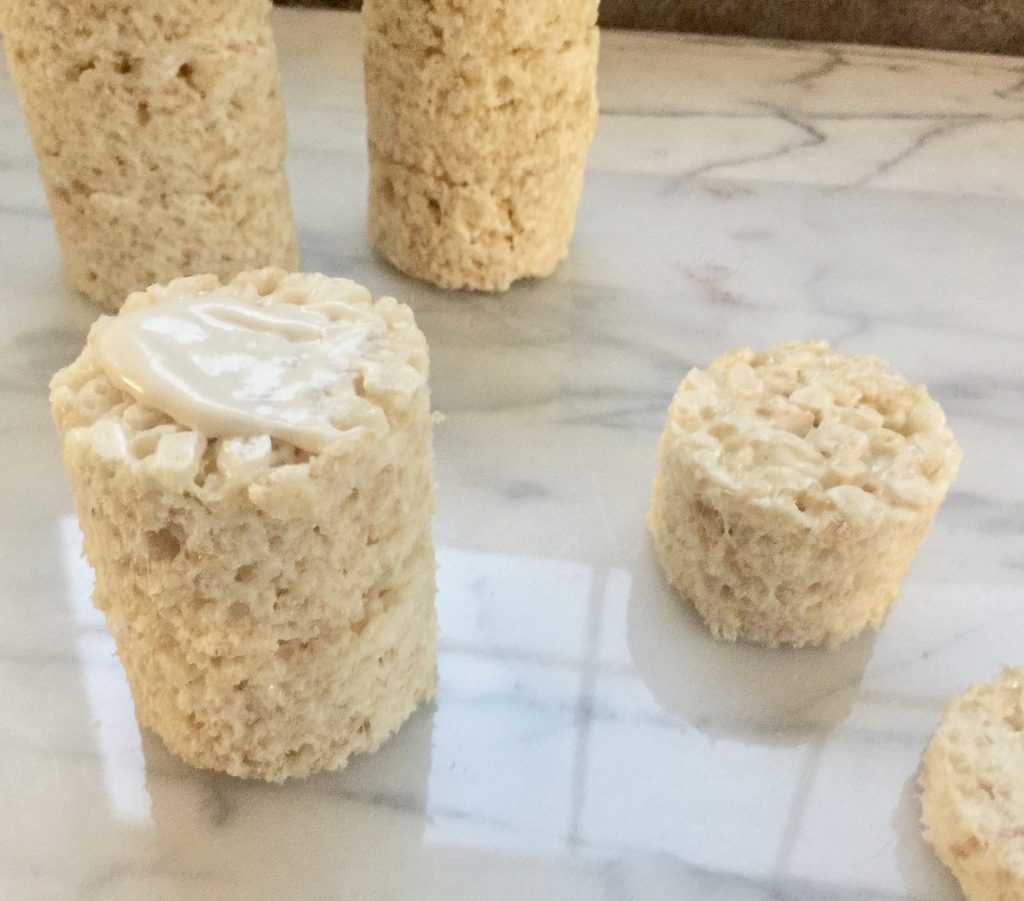
Next we need to make the surface completely smooth to prep for the fondant. I like to use ganache. Just melt 12oz candy melts with 1/4 cup plus 1 Tbsp heavy cream in the microwave in 30 second intervals, stirring each time. Let set until spreadable, and cover with a thick layer. For rounded surfaces, I like to use a piece of a flexible cutting mat (I grab them at the dollar store and cut them up). To make handling easier, stick a skewer through the center. Smooth as best you can, touch up with more ganache if necessary, and smooth again. It sometimes helps to chill in the fridge for a few minutes to firm up before the final smoothing.
cover with fondant and make their faces


You’ll need:
- fondant (yellow, dark blue, white and black)
- scissors
- circle cutters
- small circle cutters
- small rolling pin
- small pastry cutter
- tapered pallette knife
- fondant smoother
- sugar shapers
- dresden tool
- scalpel
- stitch marker
- paintbrush and black and brown gel food colors and silver dust for details, plus everclear to thin
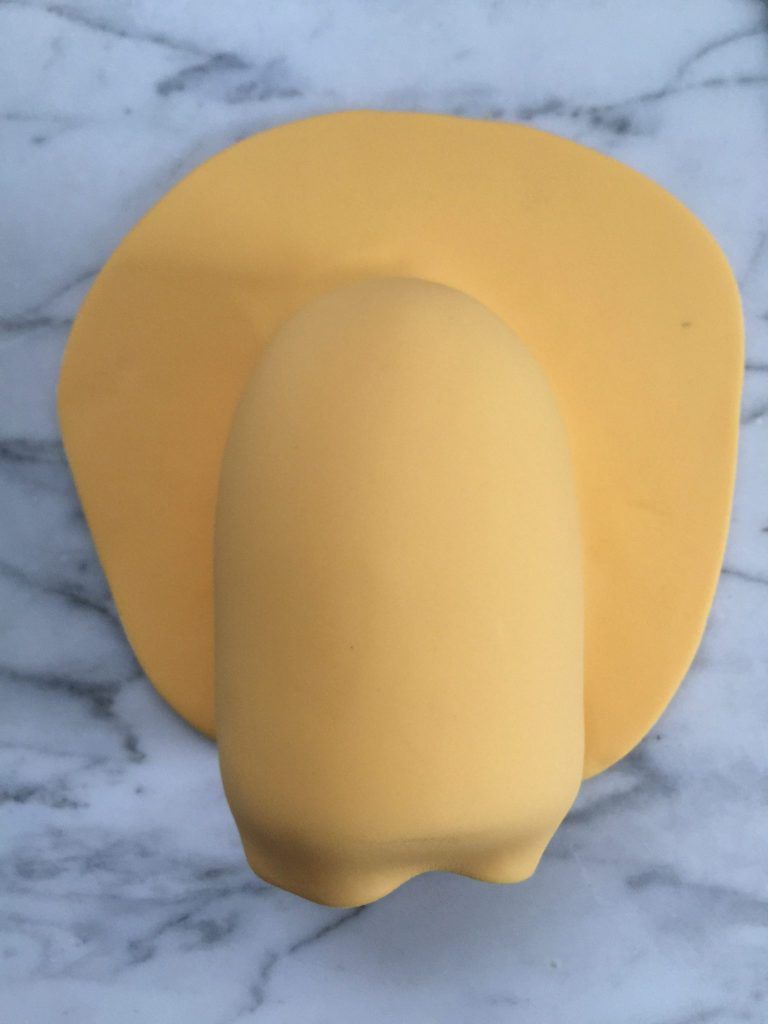

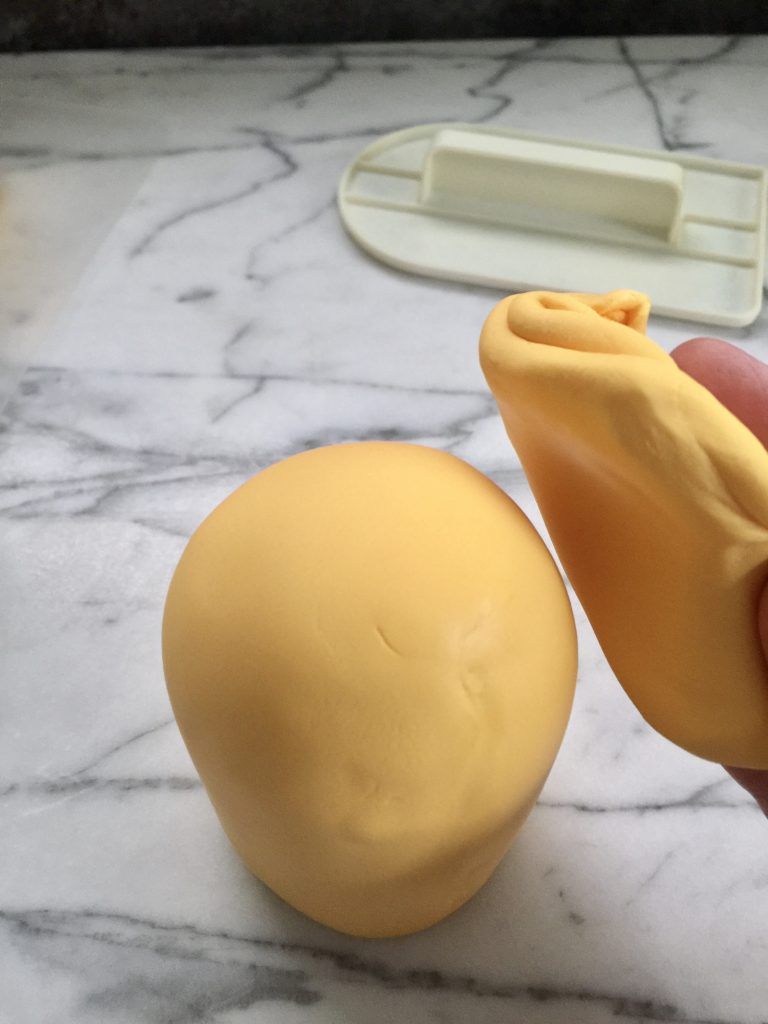
Roll out a disc of yellow fondant big enough to cover your minion. Brush a bit of water over the ganache, for the fondant to stick. Lay the fondant over, smoothing carefully, and stand him up. Pinch the fondant together at the back, and cut with scissors.


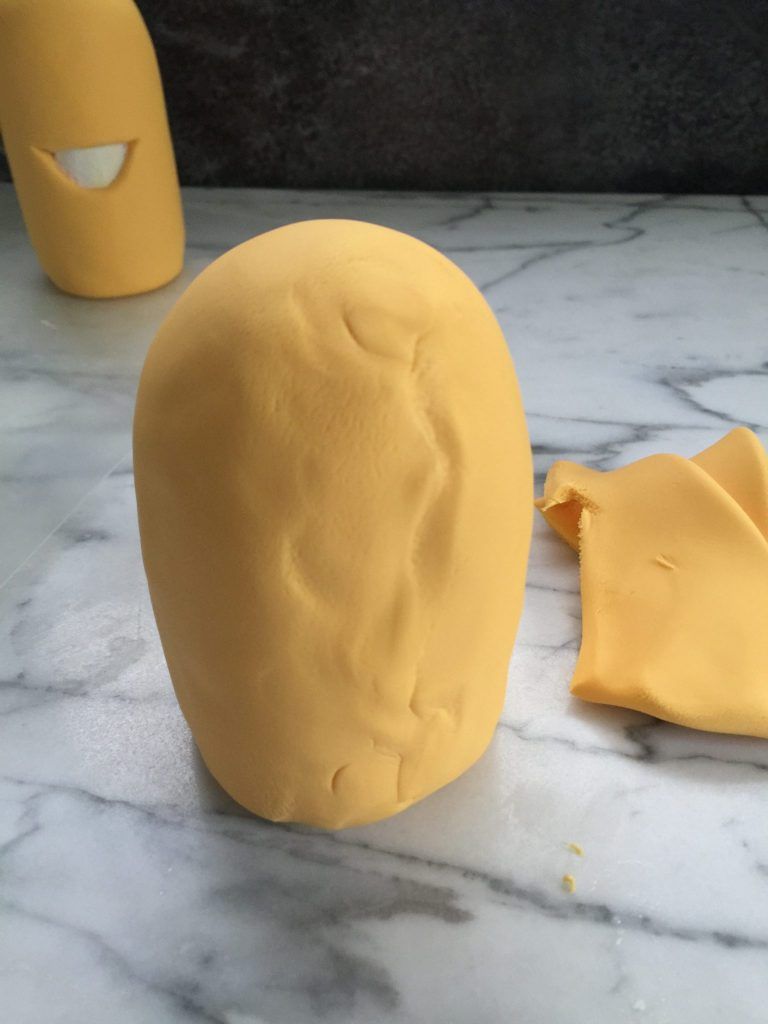
Smooth the seam by rubbing briskly with your fingertips, then firmly roll back and forth with a fondant smoother. Make a pad of extra fondant and gently rub in a circular motion (this polishes and is great at smoothing the last imperfections).

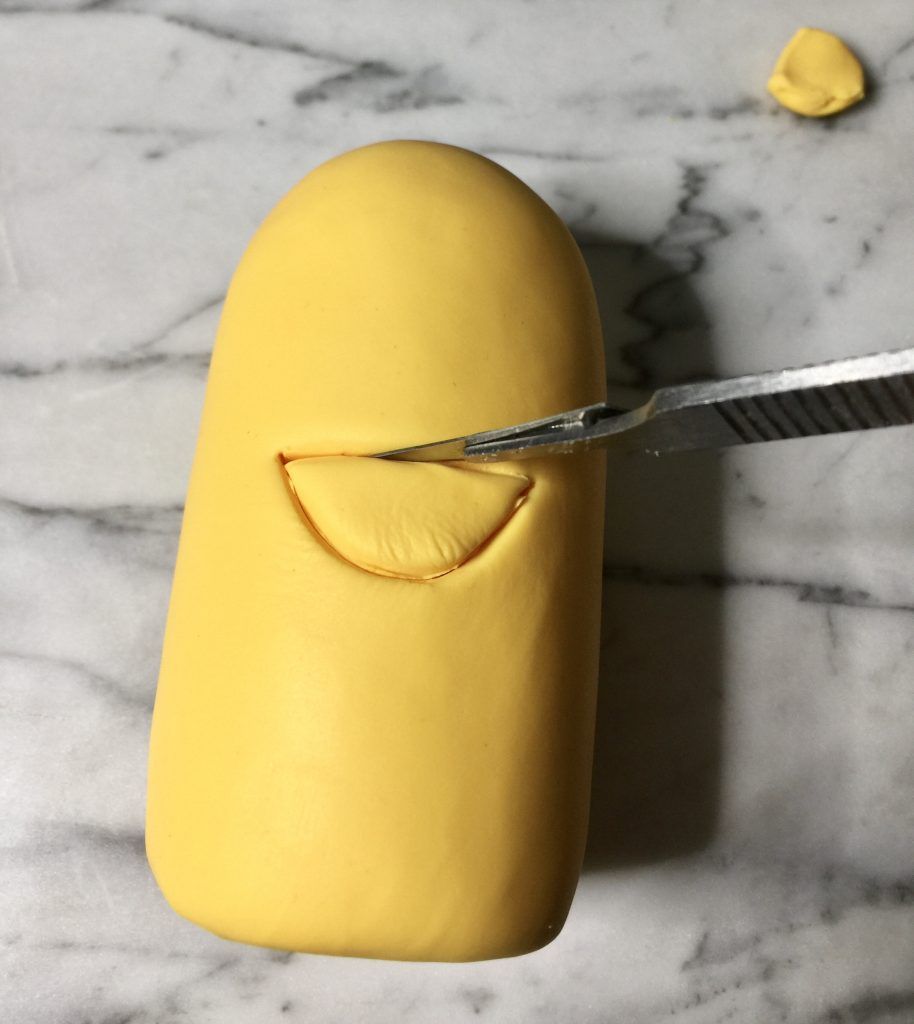
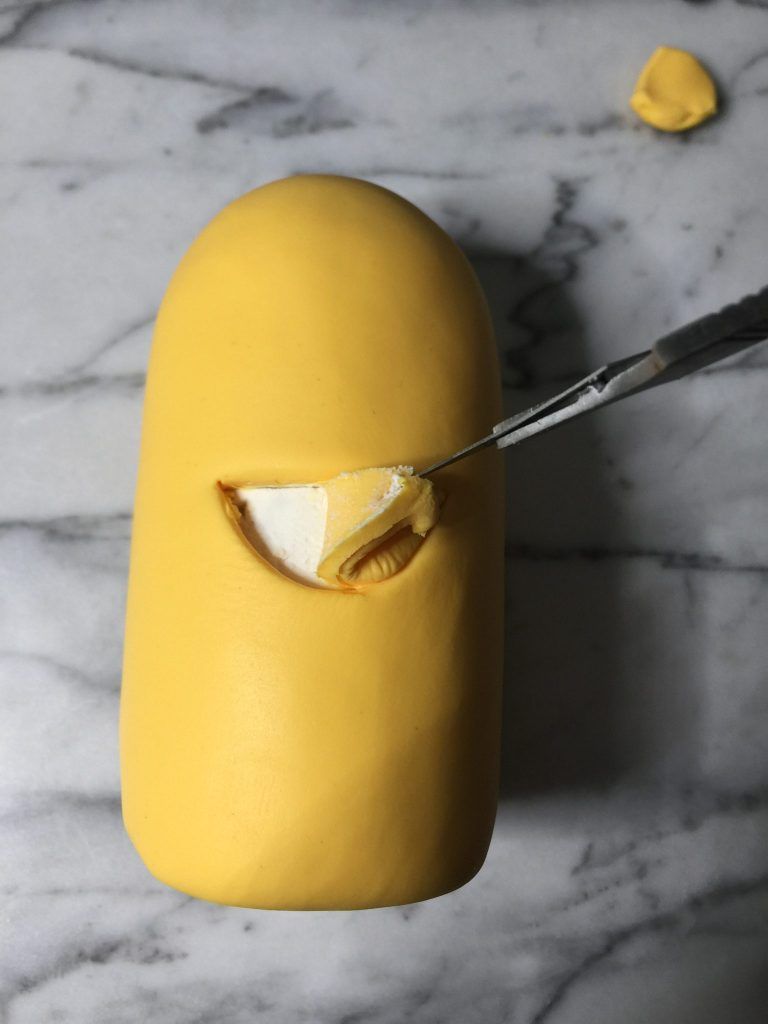

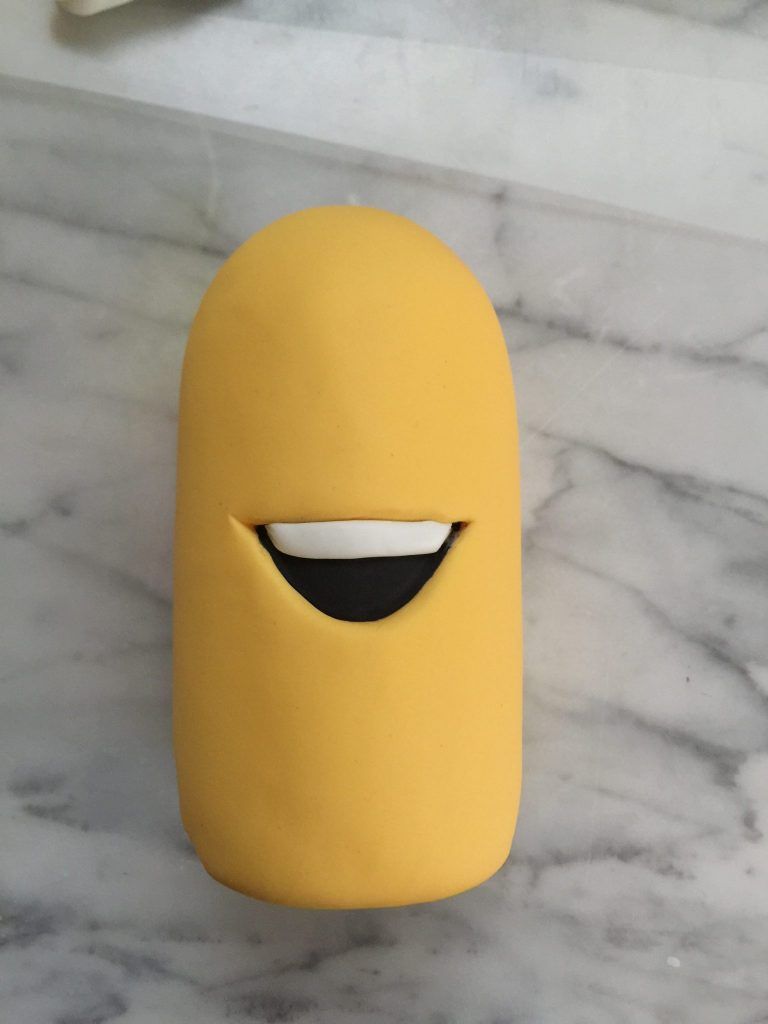
You’ll want to do one guy at a time, so you are cutting out the mouth while the fondant is still soft. Mark the shape with a dresden tool, then cut along those lines with a scalpel. Remove the inside bit, and smooth the edges with a sugar shaper.
The other thing we want to do while the fondant is soft is make little holes on top of his head for hair, in whatever pattern the character has. A toothpick works fine for this.
At this point, if at all possible, I would let it sit overnight to make it easier to handle without damage as you add the details.

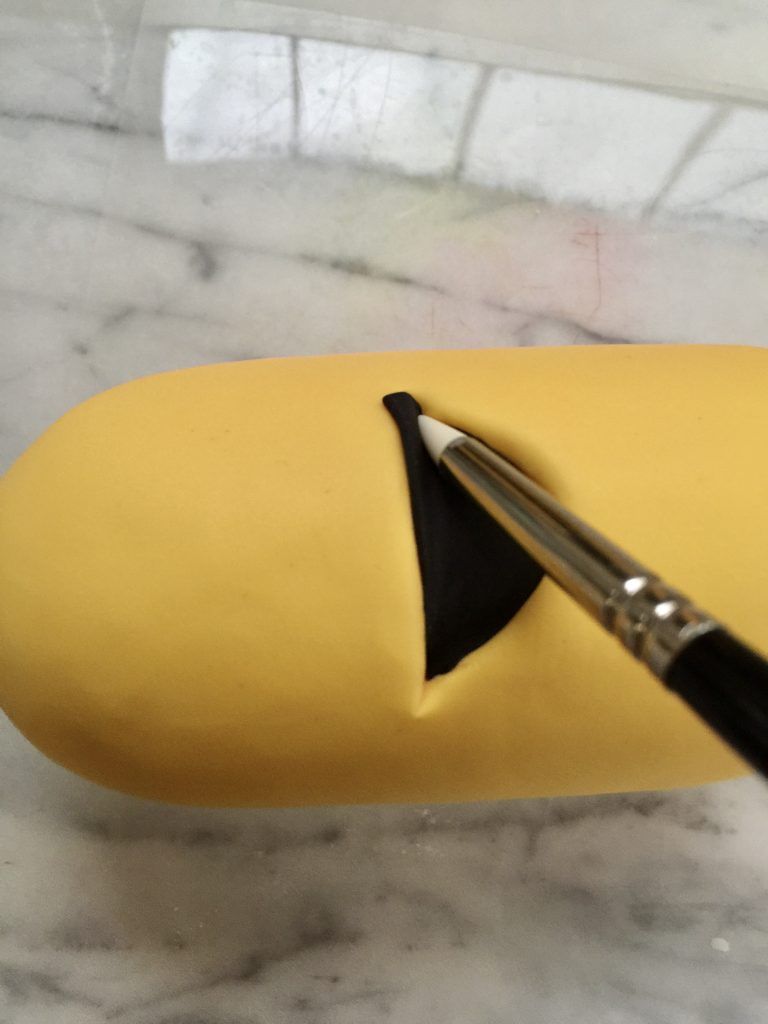

Cut out some black fondant roughly the shape of the mouth (I cut a circle and cut that in half). Brush the inside with a teeny bit of water, and lay the black fondant in. Trim the excess along the top lip, so the trimmed edge less visible in case of any imperfections.
add teeth


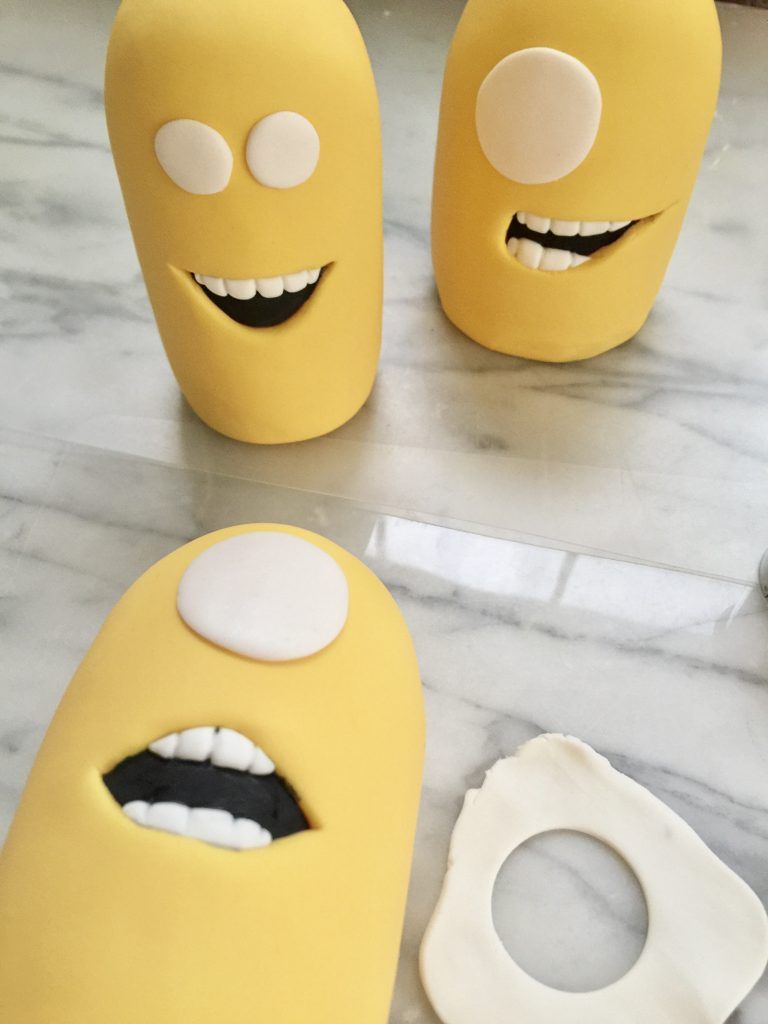
Cut a tiny strip of white fondant, and affix with a bit of water. Mark the teeth with a dresden tool, and soften and round the edges with a sugar shaper. I suggest printing out images of the specific minions you’re doing, and referring to those as you go along.

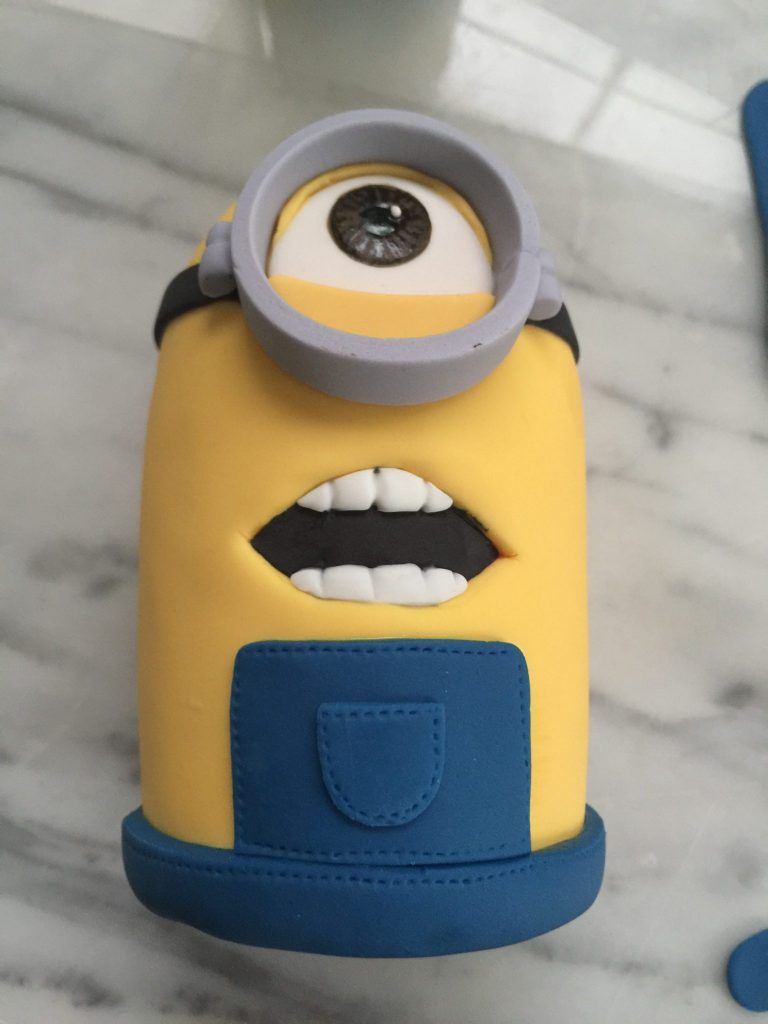
add eyes and goggles
Add white circles for eyes (or eye, lol). I find it helpful to lightly indent circles for the irises and pupils while the white is soft (to help with painting). Piping tips are perfect for this.


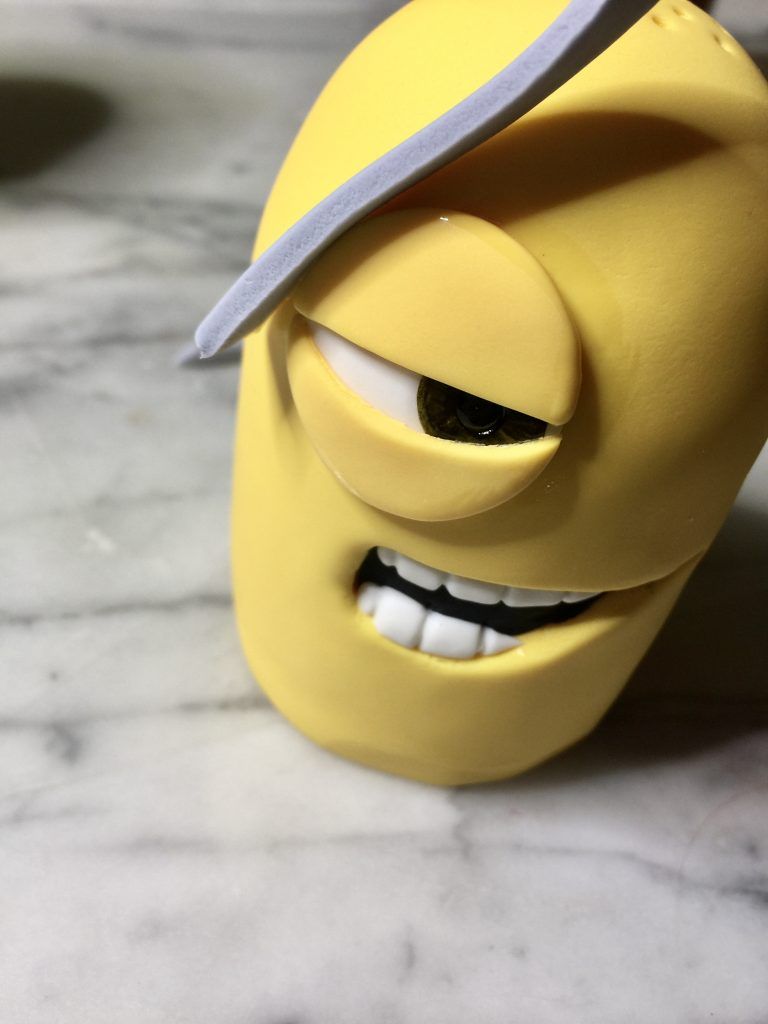
Paint the irises brown, and pupils black. For the eye lids, cut yellow fondant in a circle the same size you did the eye, and cut across into the appropriate lid shapes. Affix with a bit of water. Add a tiny white non-pareil for a highlight (or make a tiny ball of white fondant).

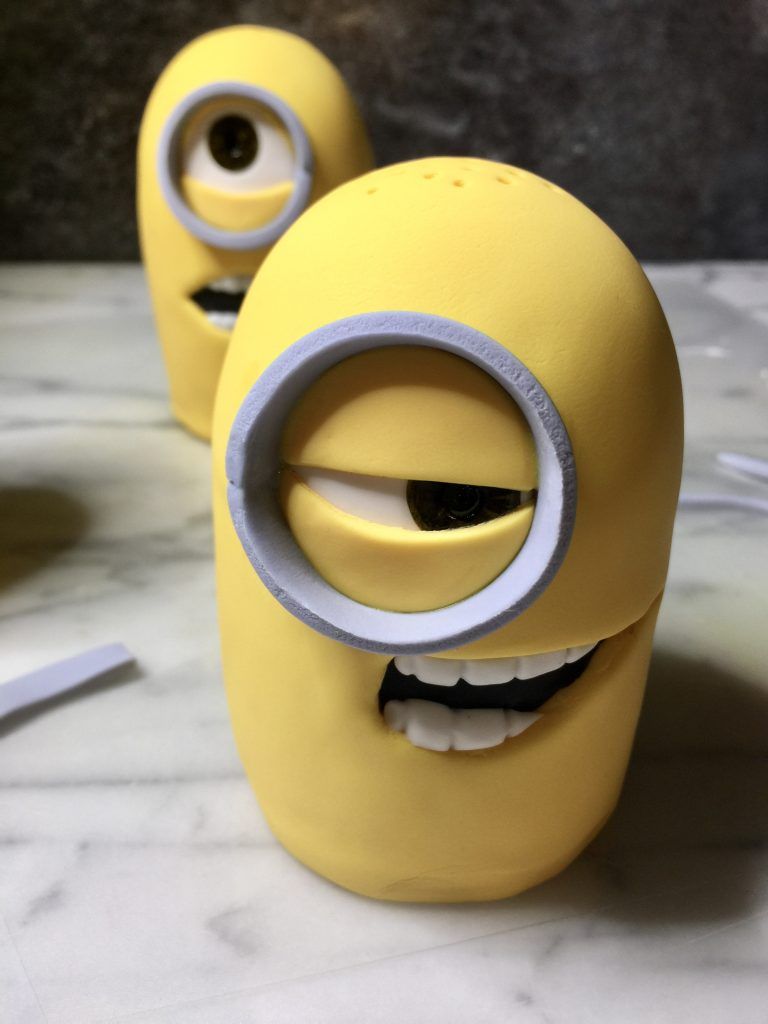
Cut a strip of grey fondant (not very wide, but a bit fat so the goggle has thickness) long enough to go around the eye, and attach with water. Trim.


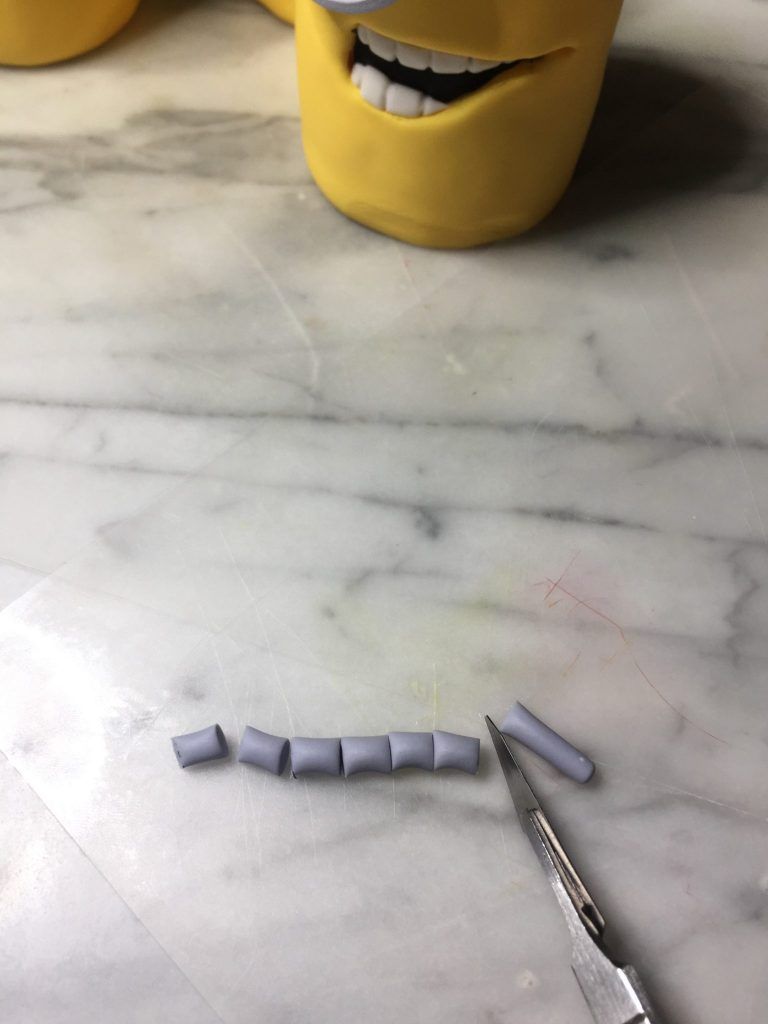
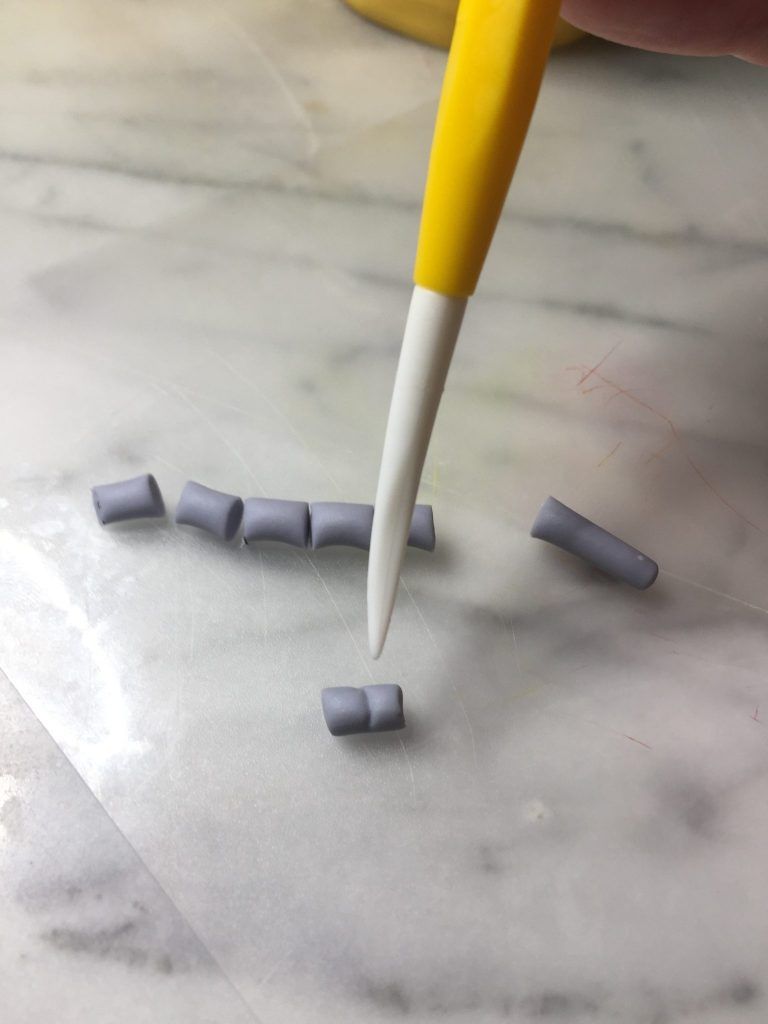
Cut a thin strip of black fondant for the strap, and affix with water. Roll out a little rope of grey fondant and cut two little sections for each pair of goggles. Mark a line in the center, and attach to the sides of the goggles.
add their overalls


Cut a circle from dark blue fondant about an inch bigger than the diameter of the minion. Dampen it with water, set the minion in the center and carefully press the edges up as shown.


Cut a square from the same fondant, and hold it up on the minion to see where to trim it. Pay special attention to how close to the mouth the top is (it varies), and trim to fit. Mark the edges with a stitch marker and attach. Add a piece to the back as well.
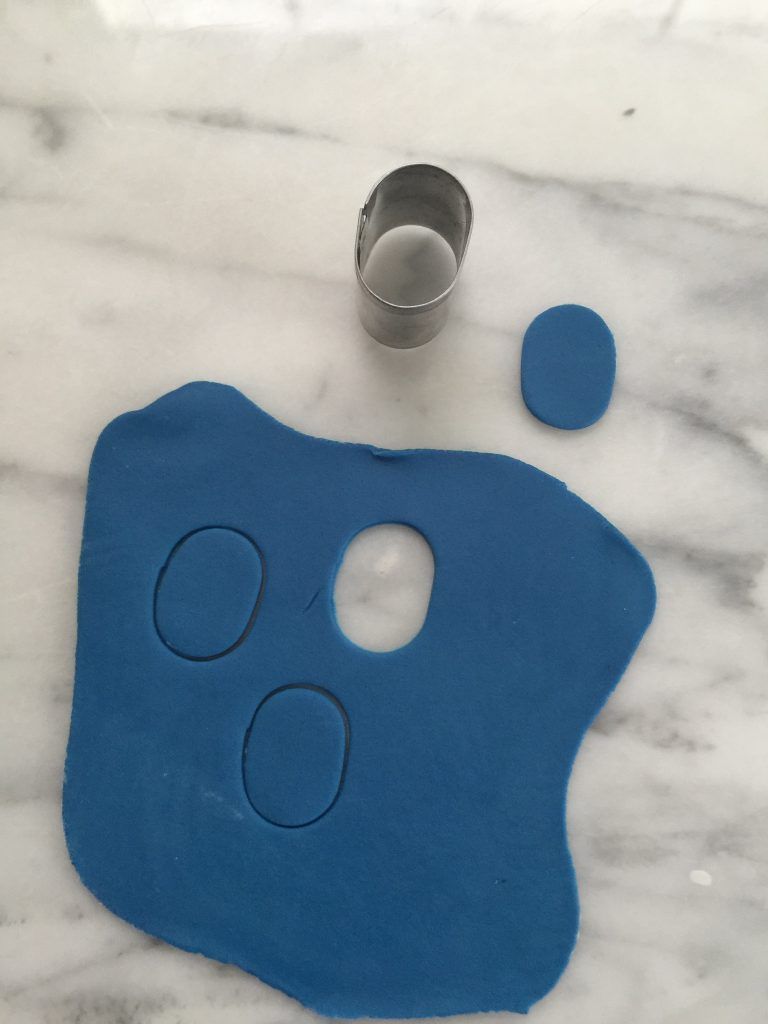
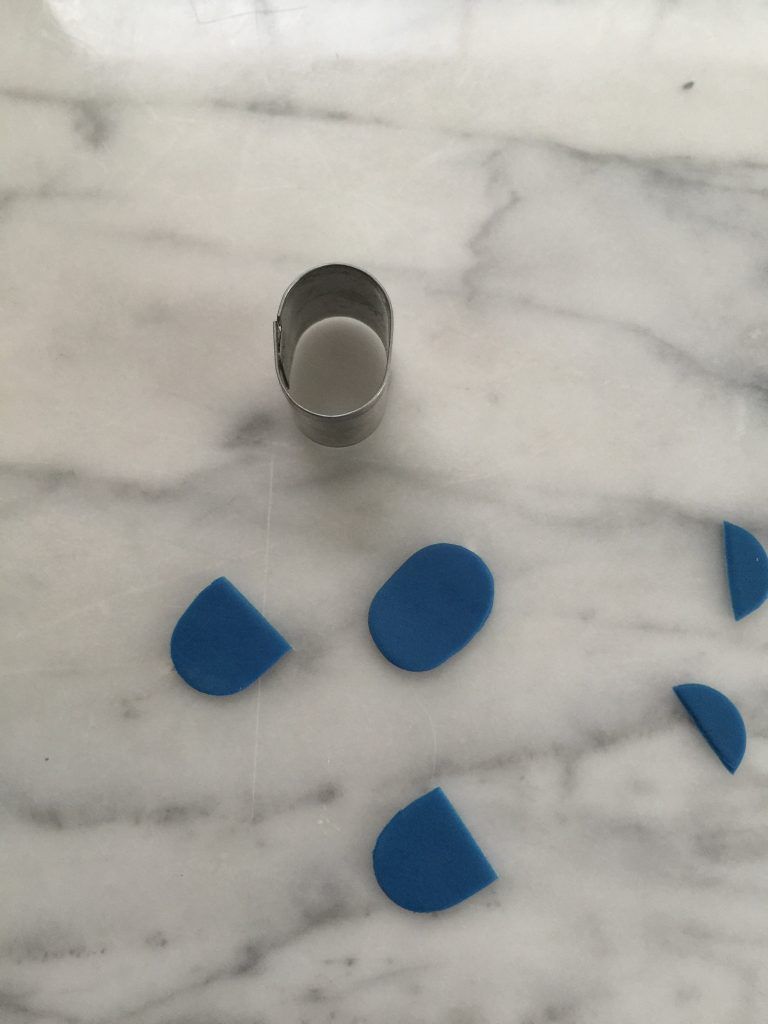
Cut a small oval, trim one end of and add to the center of the overall bib. Mark around the edge with the stitch marker.

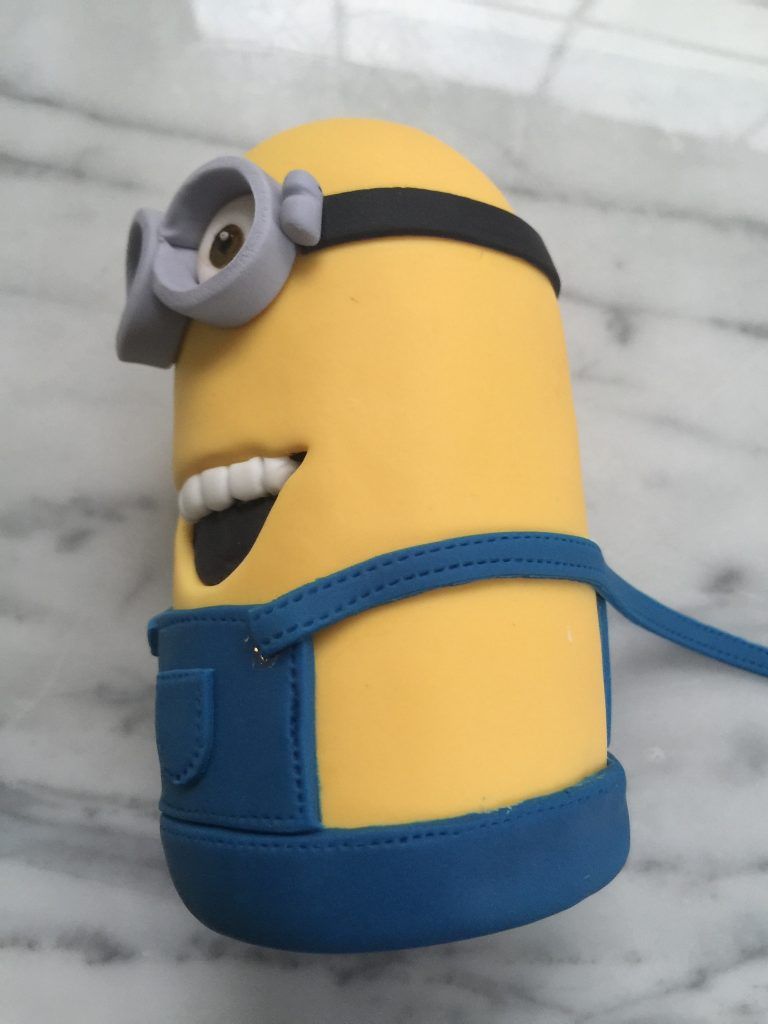
Cut thin strips for the straps, and mark the stitches. Attach with water from the front bib to the back. Overlap in the front to leave space for the button.
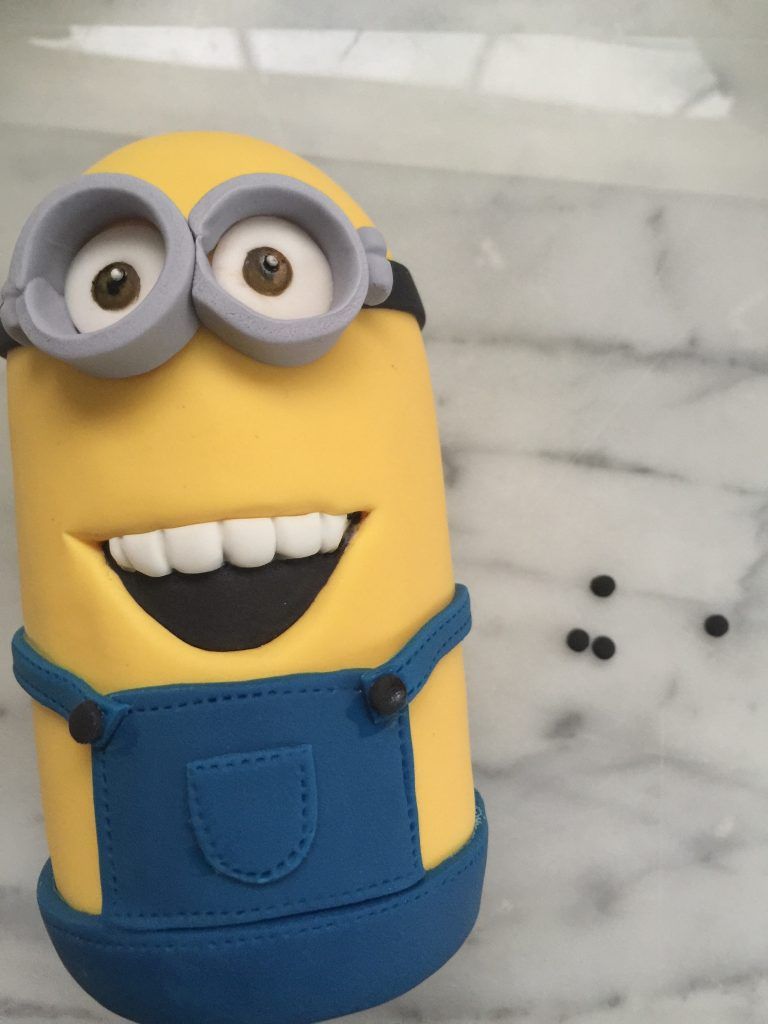

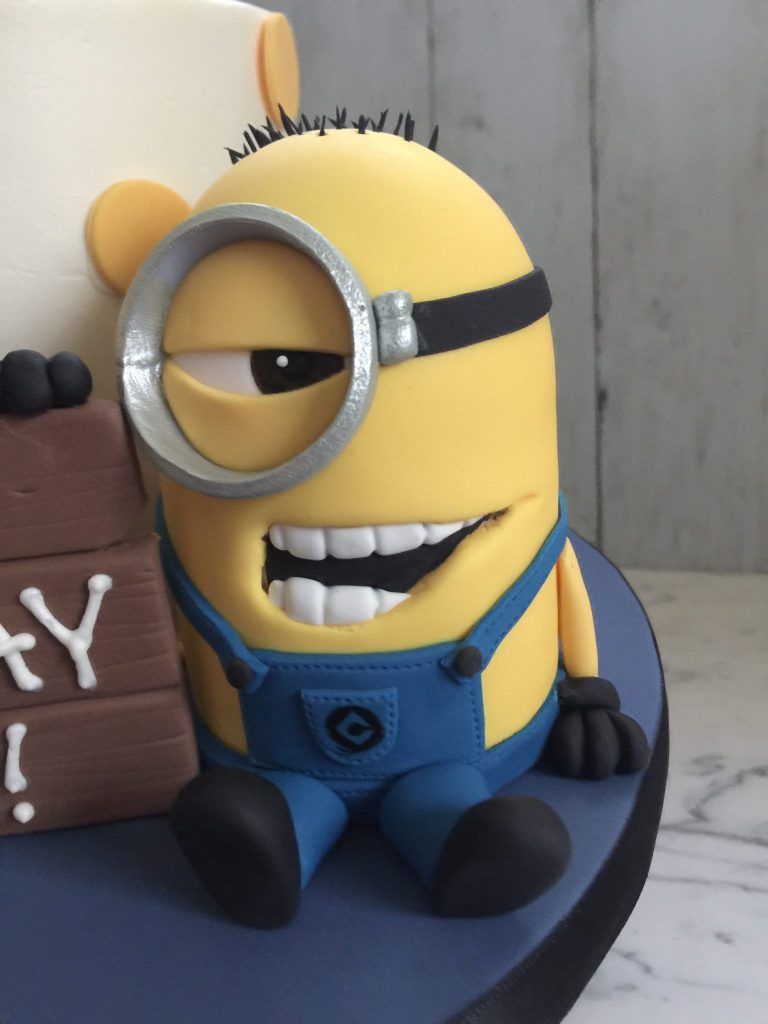
Cut tiny black circles with a piping tip, and attach. Paint the Gru logo on the pocket with black food color thinned with alcohol. If you break it down it’s super simple: paint a circle, add the four lines to make the diamond inside, and fill those in. Add a little circle in the center, and a line from that to the right hand point of the diamond.
arms and legs

Roll out two matching short tapered logs for legs, and attach little black ovals for shoes.


Roll thin yellow rope for arms and attach as shown.

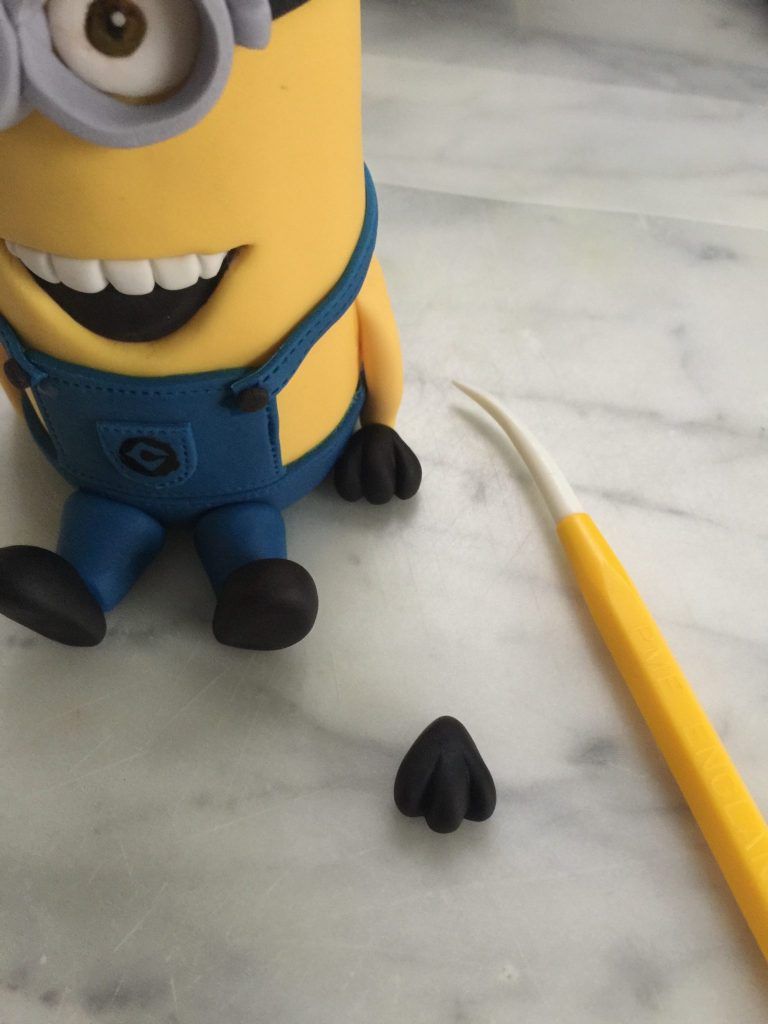
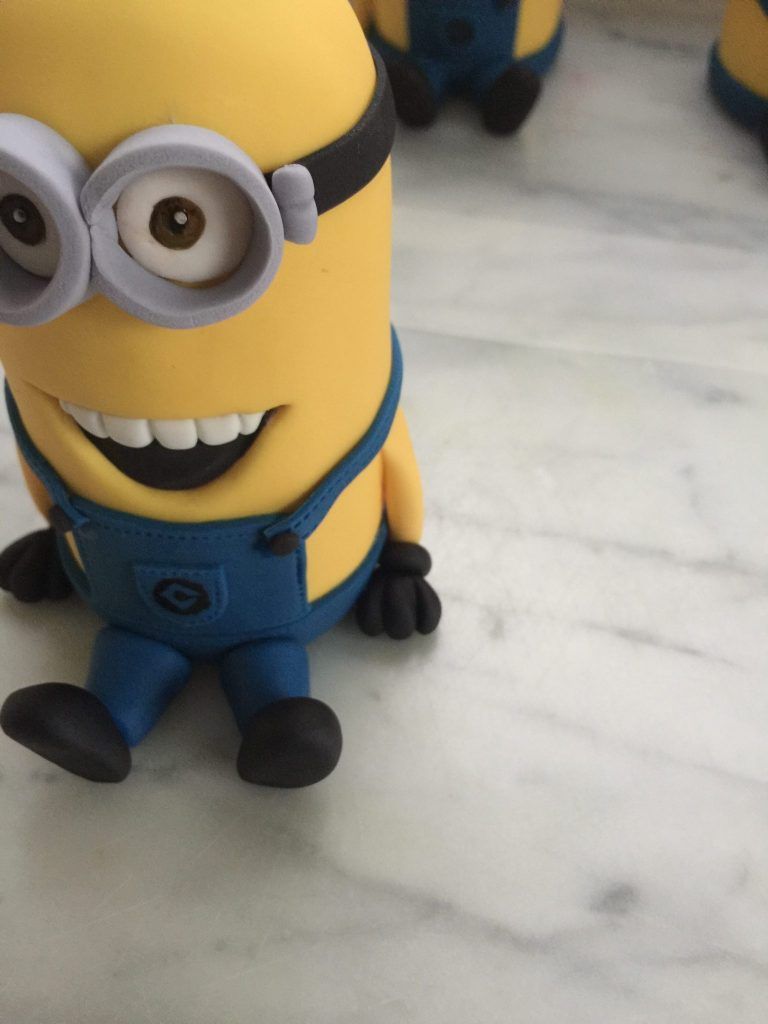

Make black gloves as shown, marking three fingers with a dresden tool, and adding a tiny rope around the wrist for the cuff.


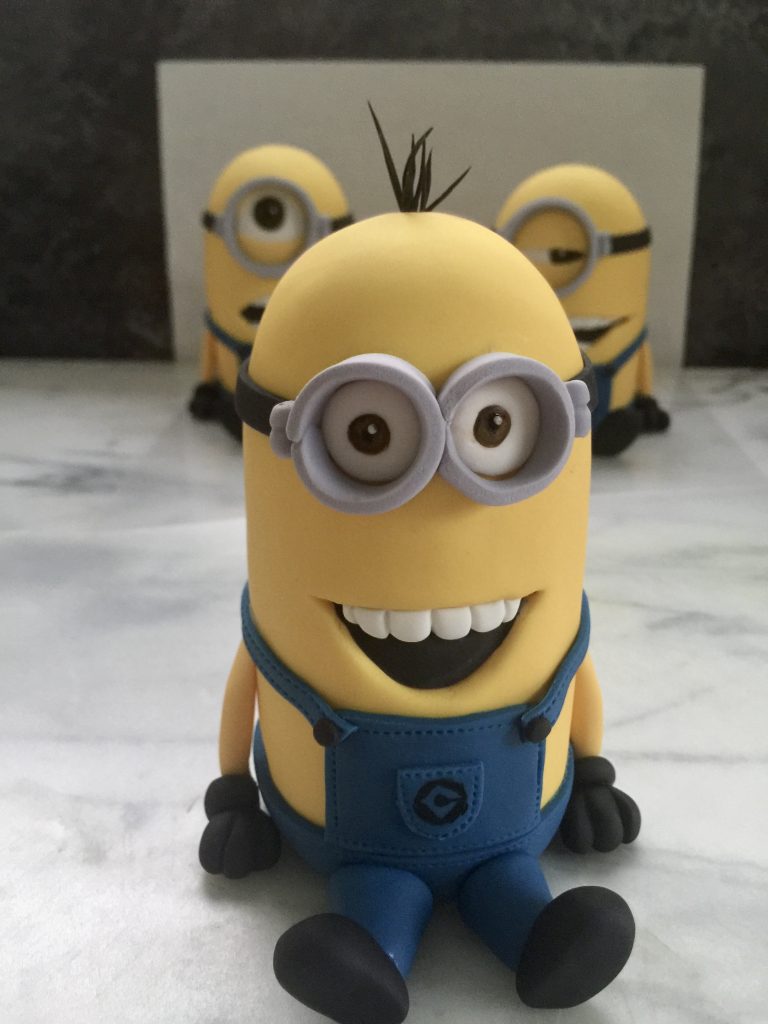

Roll out a bunch of little hairs, tapering one end. Put gum glue in the holes you made earlier, being very careful to not put too much (too much will dissolve the end of the hair and they’ll flop over). Carefully place them one by one…I find tweezers (the tapered kind) helpful in this.
Paint their goggles with silver luster dust thinned with alcohol, and you’re done! I truly hope you’ve found this minions tutorial helpful! If you need a cake to put them on, here’s my favorite chocolate cake recipe.
Happy baking!

Precioso tutorial.Hice 2 para la torta de mi nieto que cumple 6 años.Quedaron muy graciosos y le gustaron mucho. Gracias Robyn!
Estoy tan contenta! Muchas gracias Juana!