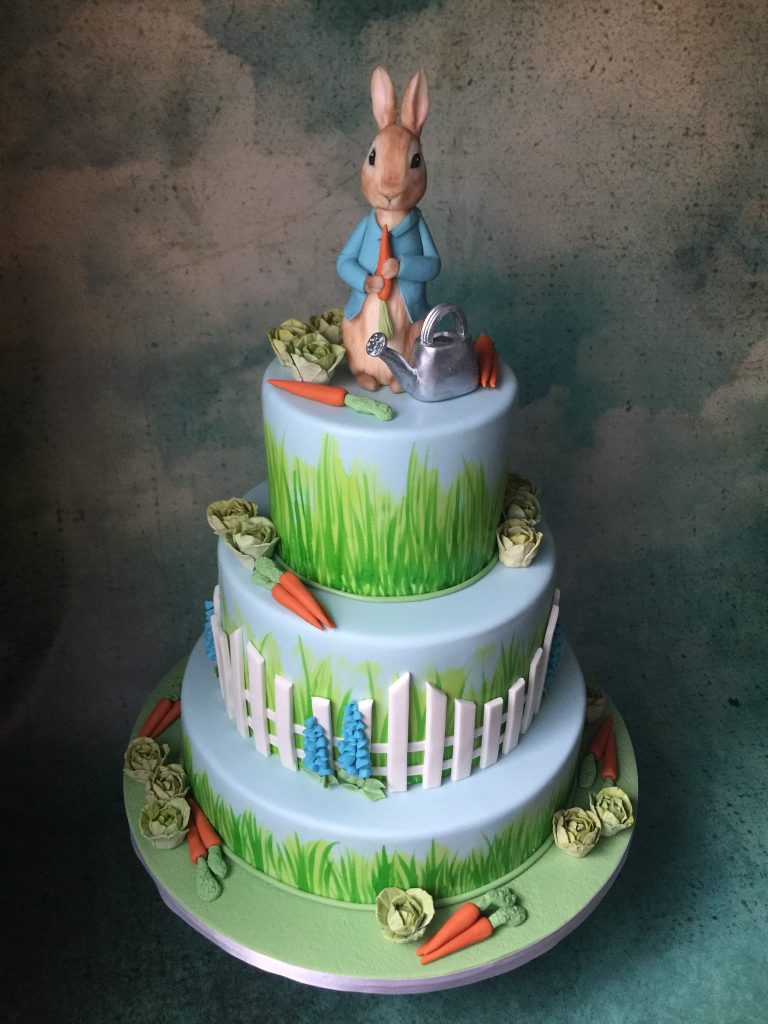
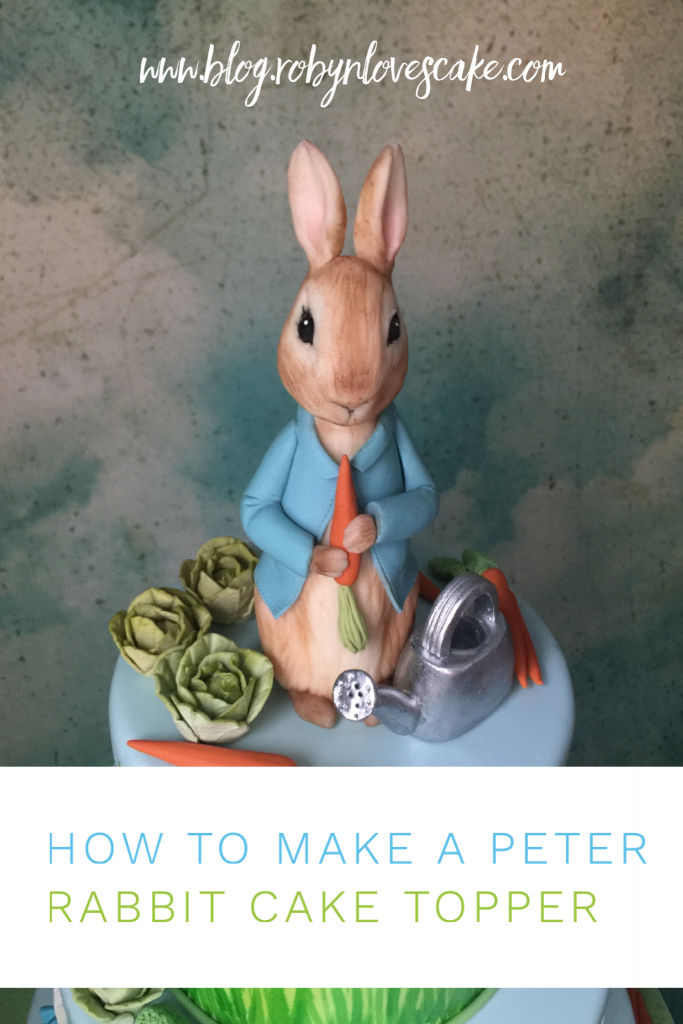
Like many, I have such a soft spot for Peter and all the rest of Beatrix Potter’s characters..the sweet watercolor world she created has been one of my favorite things since childhood. So I *love* being asked to do a baby shower cake featuring Peter.
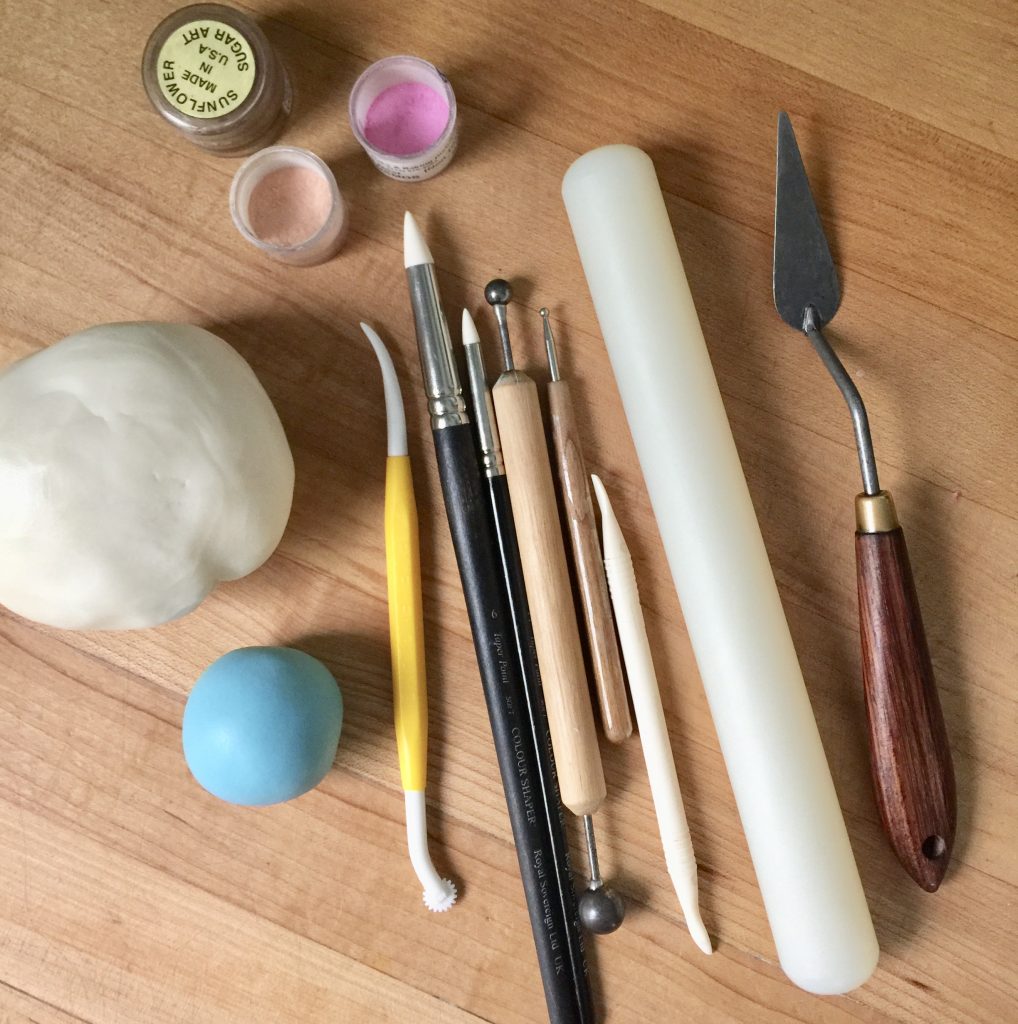
You’ll need:
- ivory modeling chocolate
- blue fondant
- dresden tool, sugar shapers
- fondant roller
- brown and pink petal dusts
- stitch marker
How to:

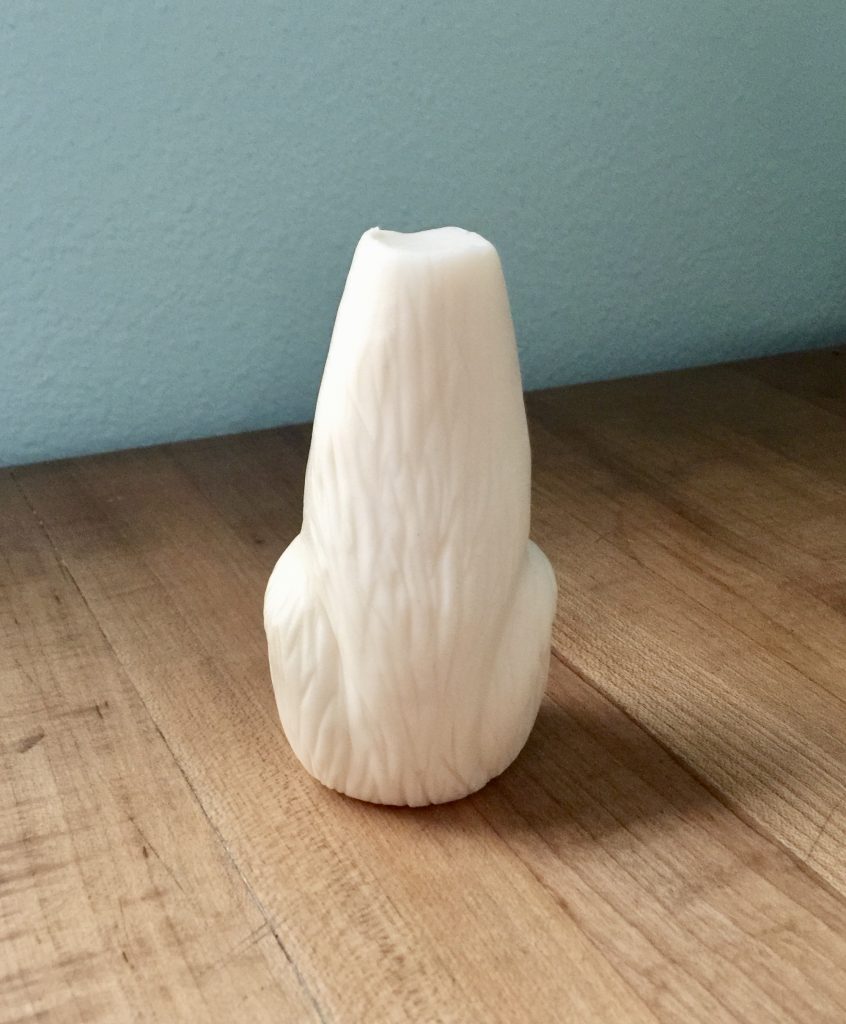
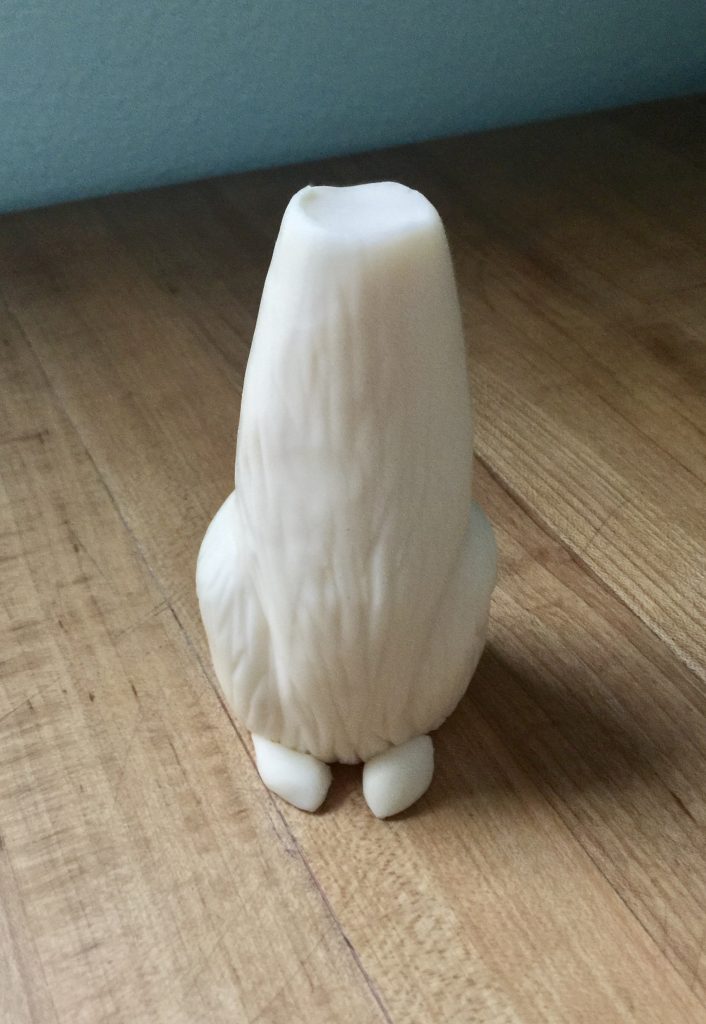
Start by making a teardrop shape from ivory modeling chocolate (see how to make it here); we’ll be dusting him with brown at the end. Mark lines for his legs…push down on them which will make them bulge out a bit, and push his torso in a bit to get the shape shown above. Score little lines for his fur.

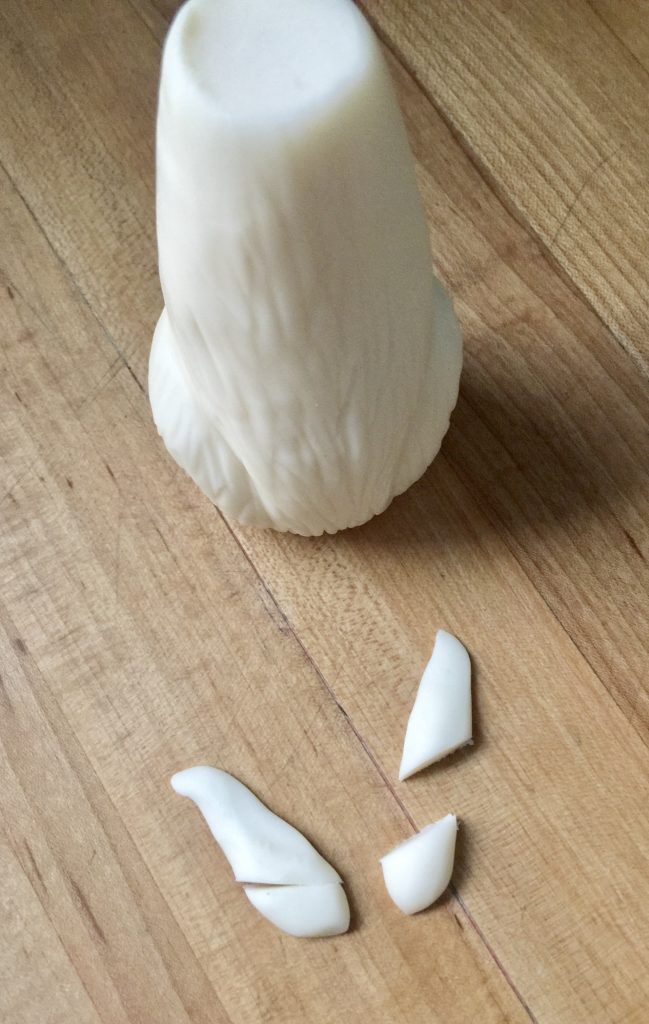
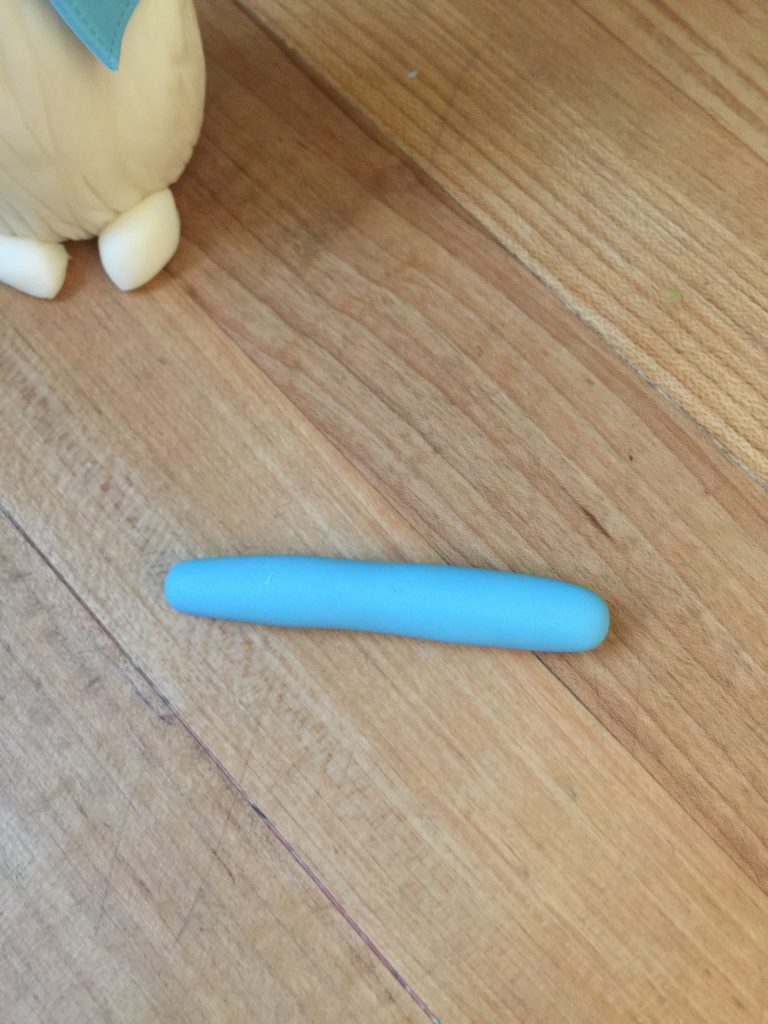
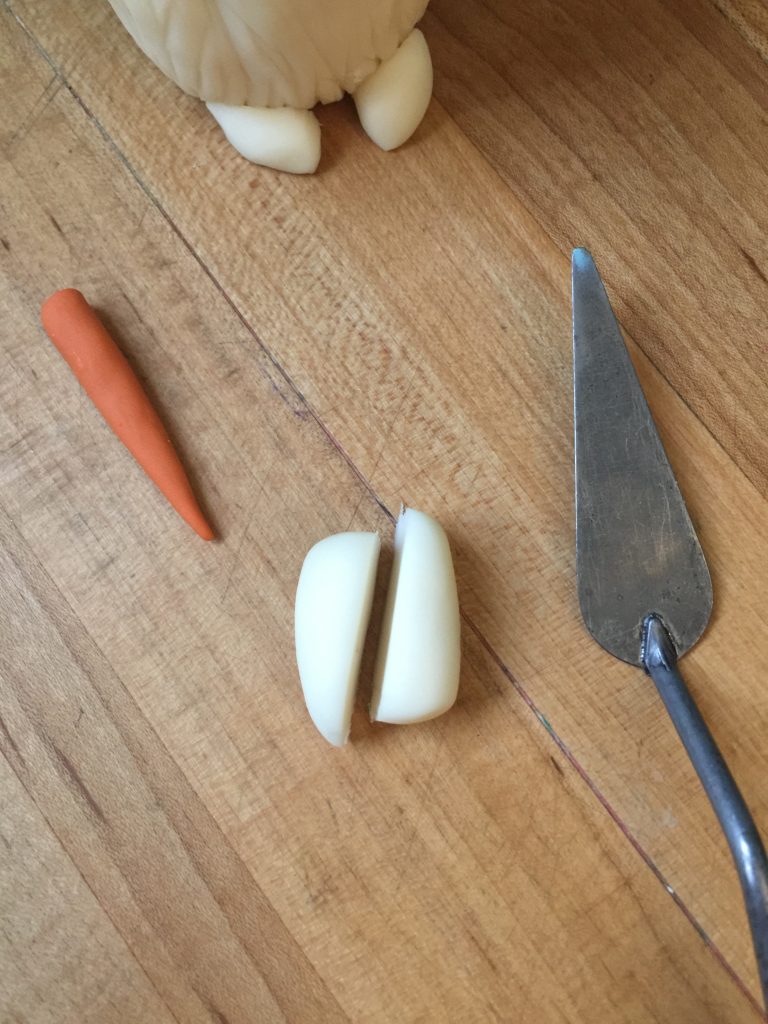
Roll out a little log and cut at a diagonal. Flatten out a bit, trim, and attach with a bit of gum glue.


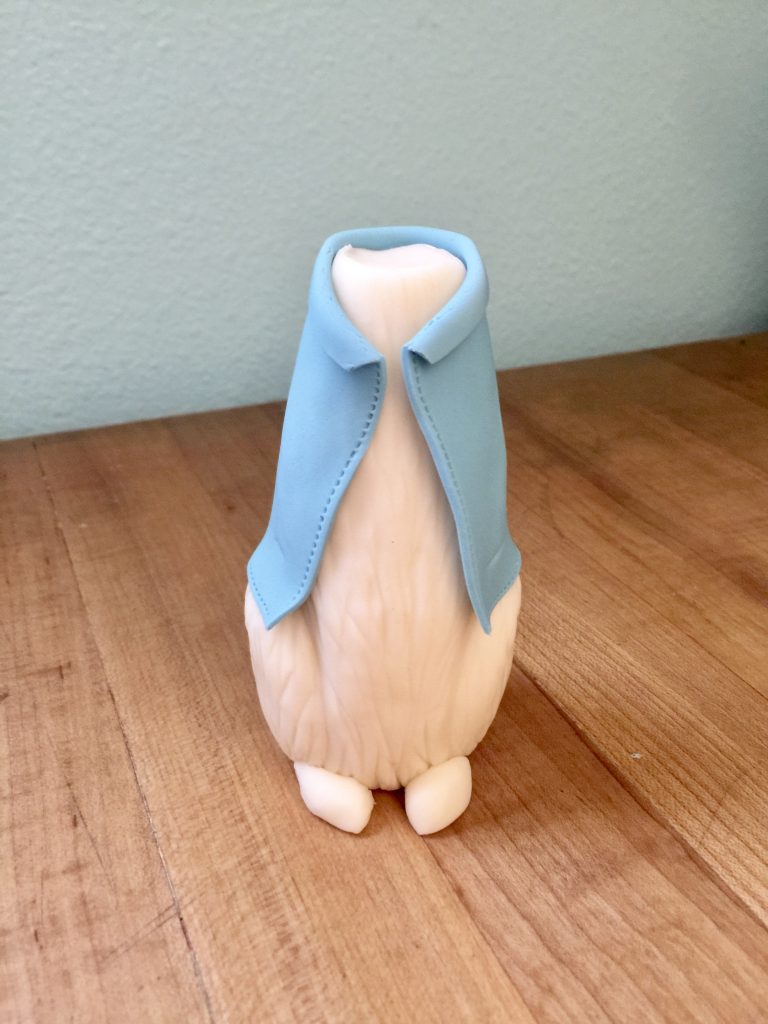
For his jacket, roll out some blue fondant…what I generally do is roll out what I think is about right, put it in place to measure, and take it back off to trim to the correct size. Roll the stitch marker along the edges, and turn the collar back. Wrap it around his body and secure with gum glue.

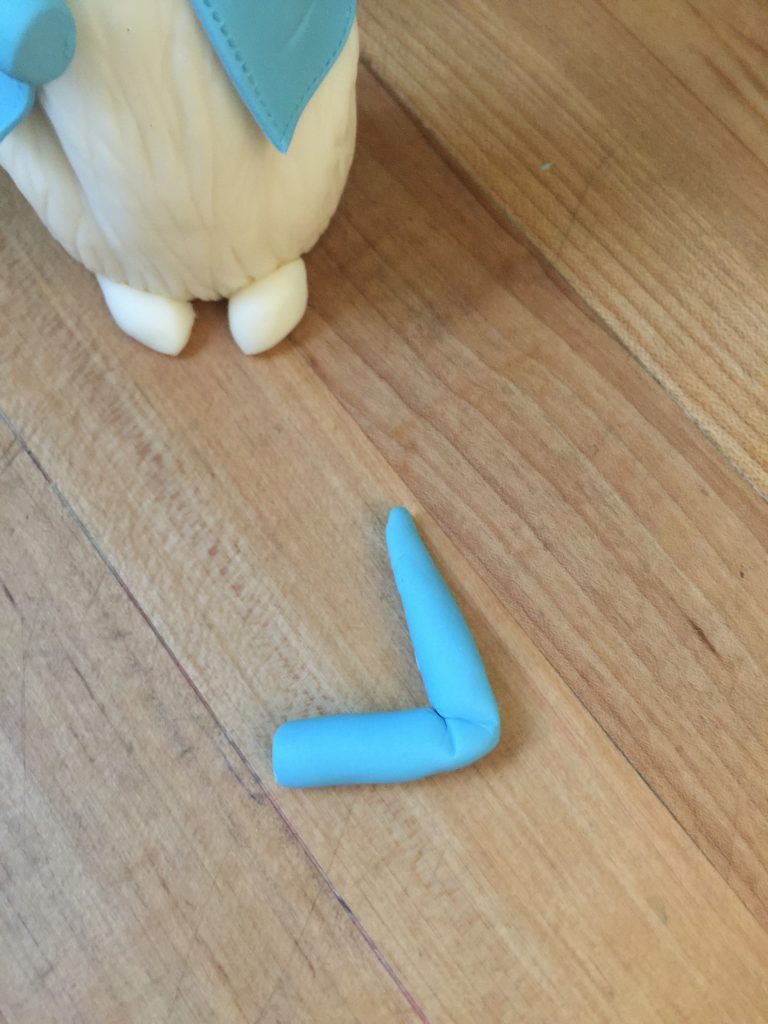
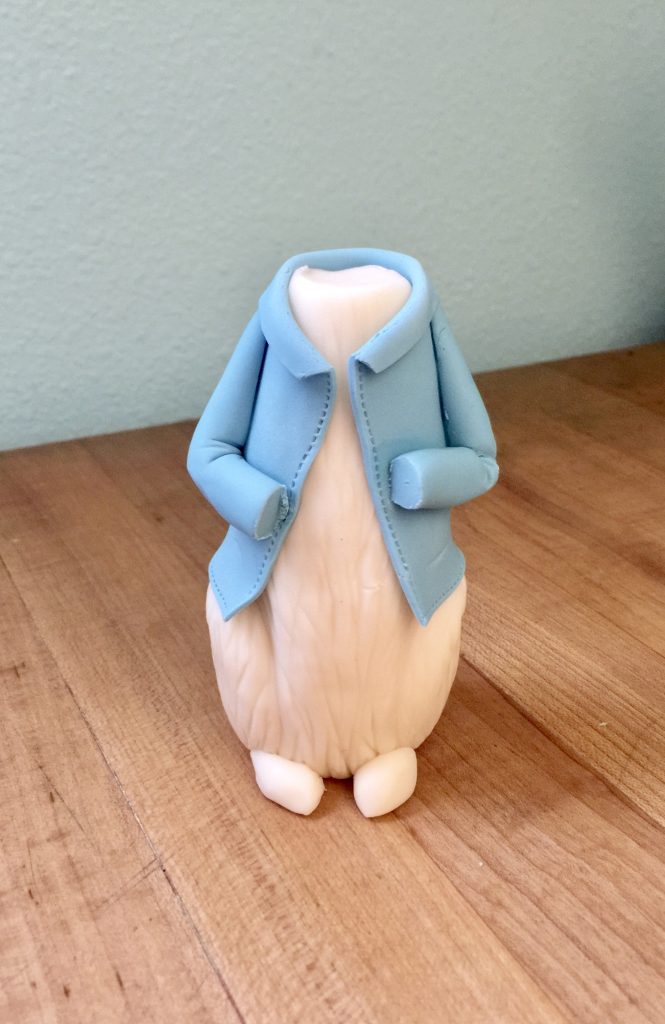
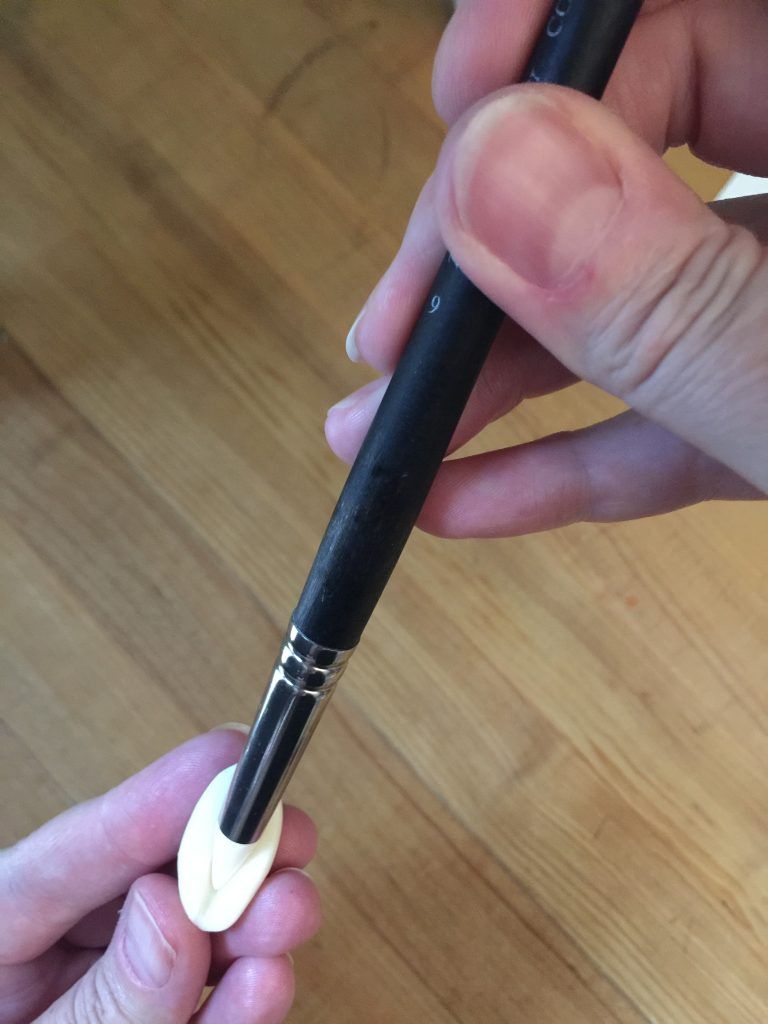
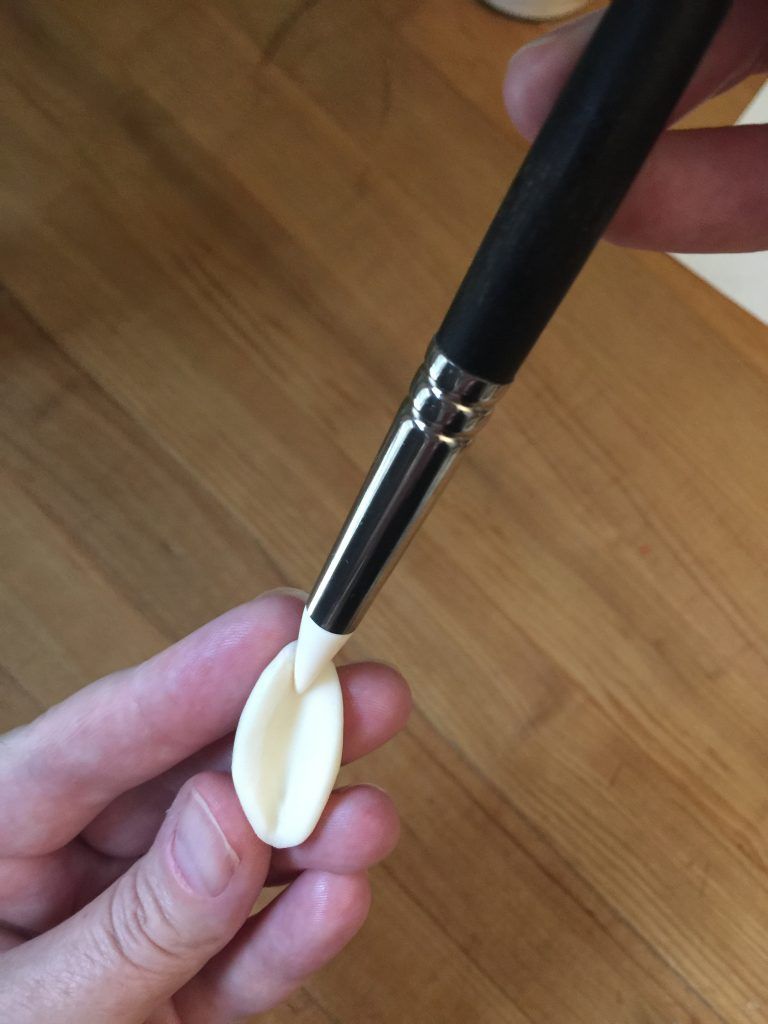
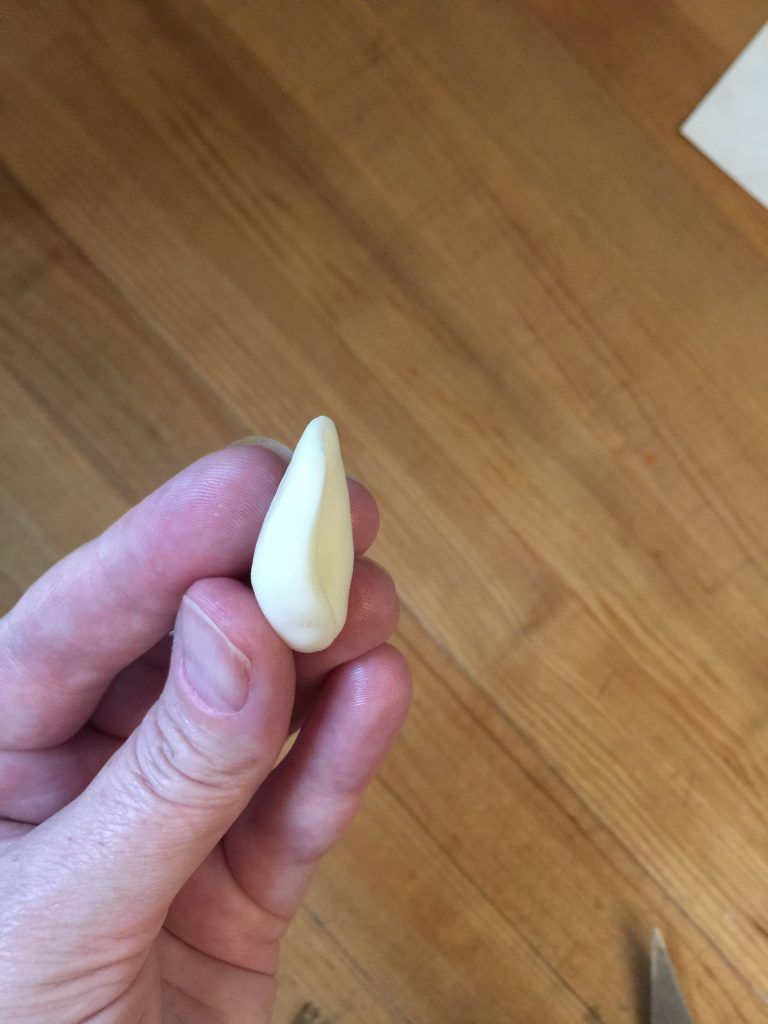
For each arm, roll out a little log, cut the end to make it flat and trim the shoulder at a diagonal as shown. Bend at the elbow, making a couple of creases with the dresden tool. Attach with elbows bent (he’ll be holding a carrot).

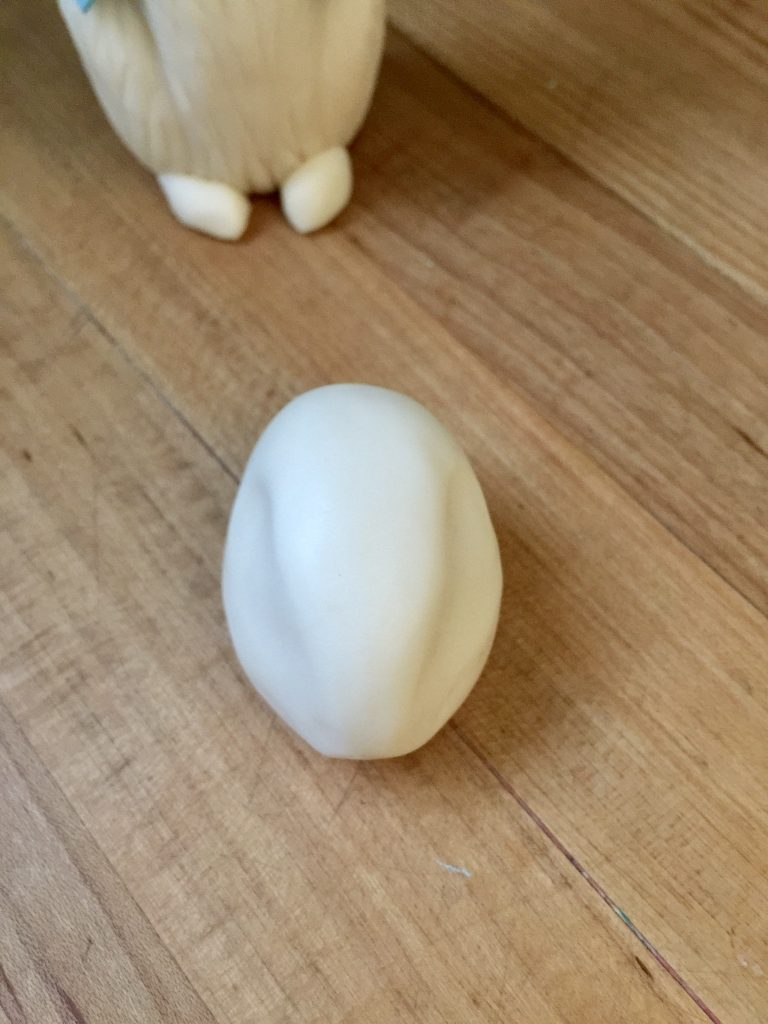

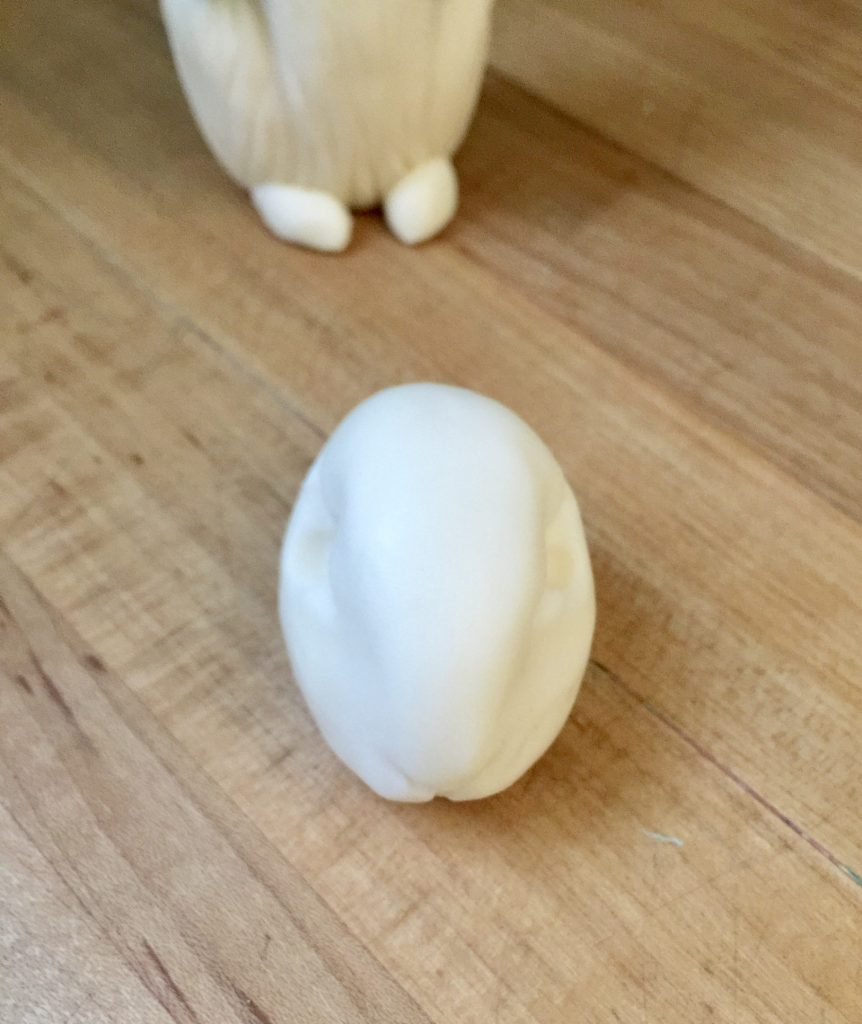


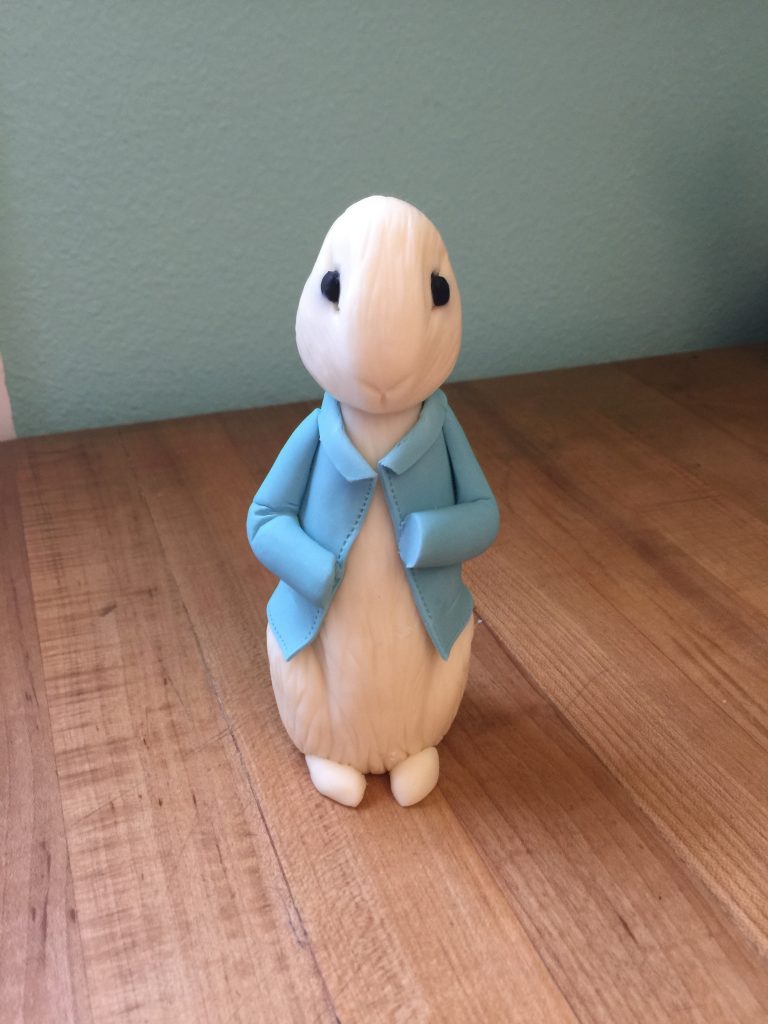
For his head, roll out a ball of the modeling chocolate and shape it into a fat teardrop shape. Run your fingers down the sides to make a ridge for his nose, and mark a line across the eye area with the dresden tool and a space for his eye with the ball tool. Roll a little ball of black for each eye, and mark three lines as shown for his nose and mouth. Lightly score lines for fur.

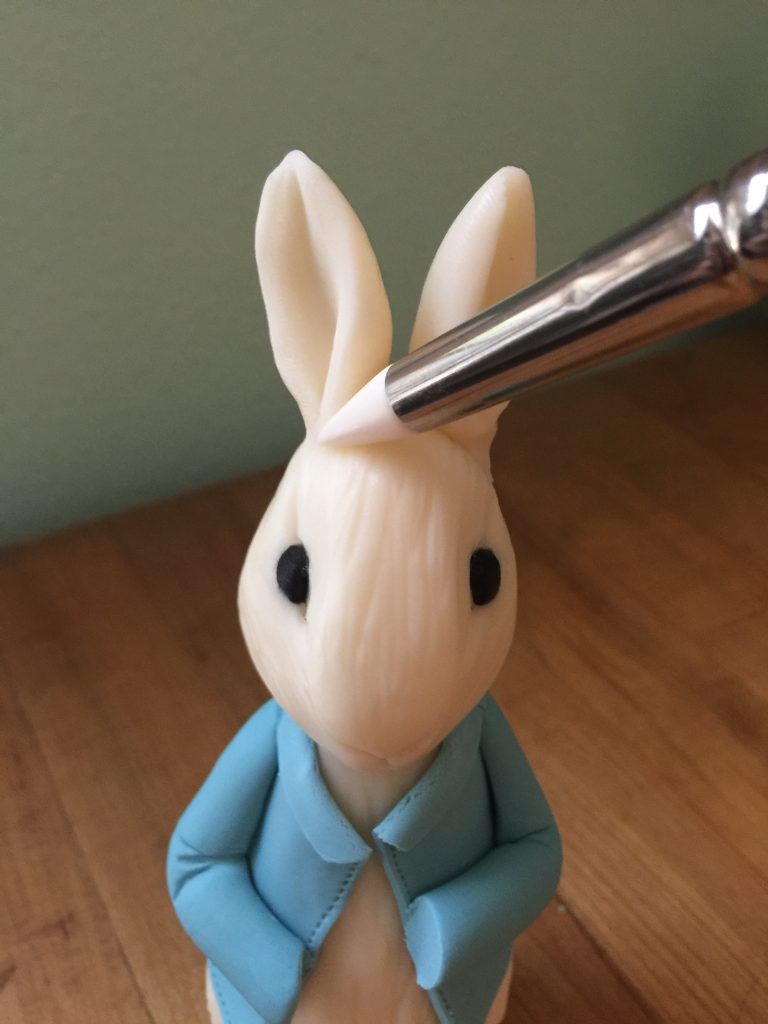
For his ears, roll out a small log and cut diagonally. With a shaper make a crease going from the thicker end up to the top. Apply to his head with gum glue, and smooth the seams with the shaper.
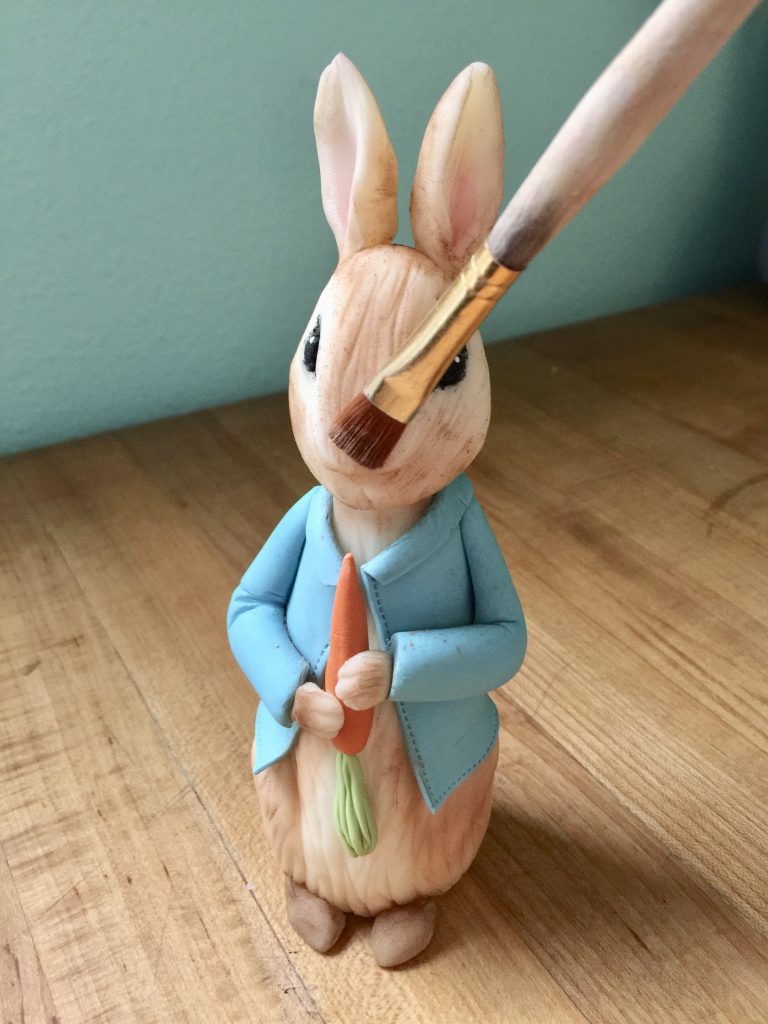
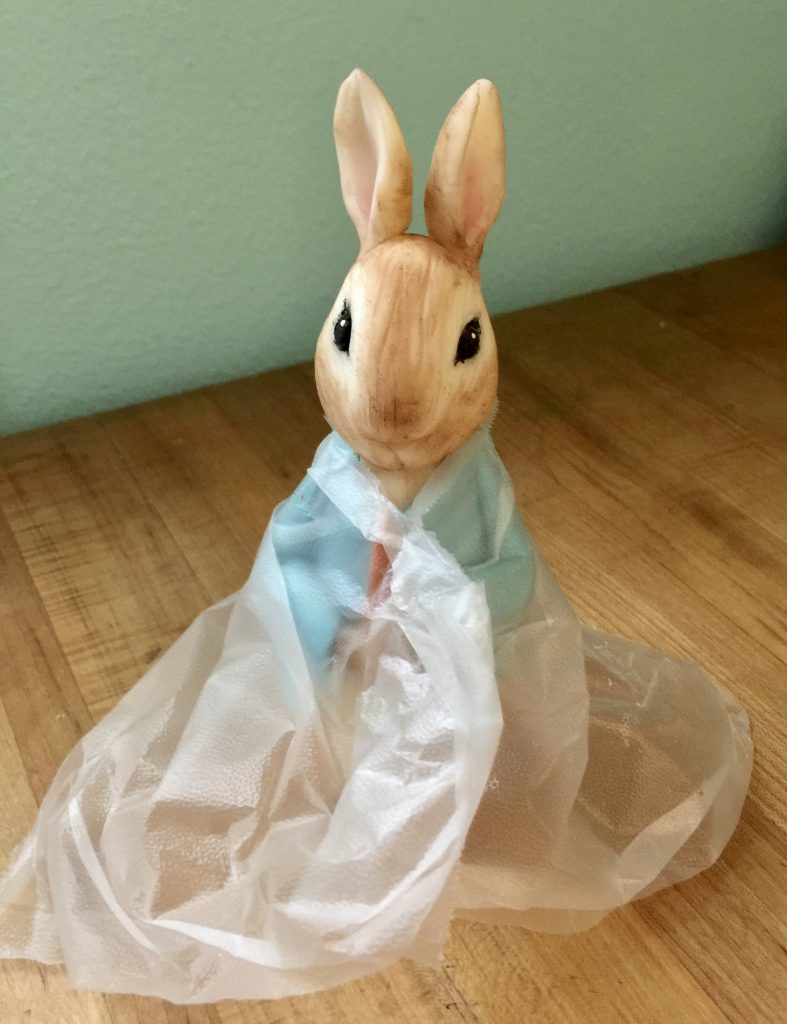
Press a tiny nonpareil into each eye for a highlight. Brush on the petal dust, starting lightly and building up. I forgot to do it, but a great way to protect parts you want to keep clean is to wrap press and seal plastic wrap around them like a little rain poncho.
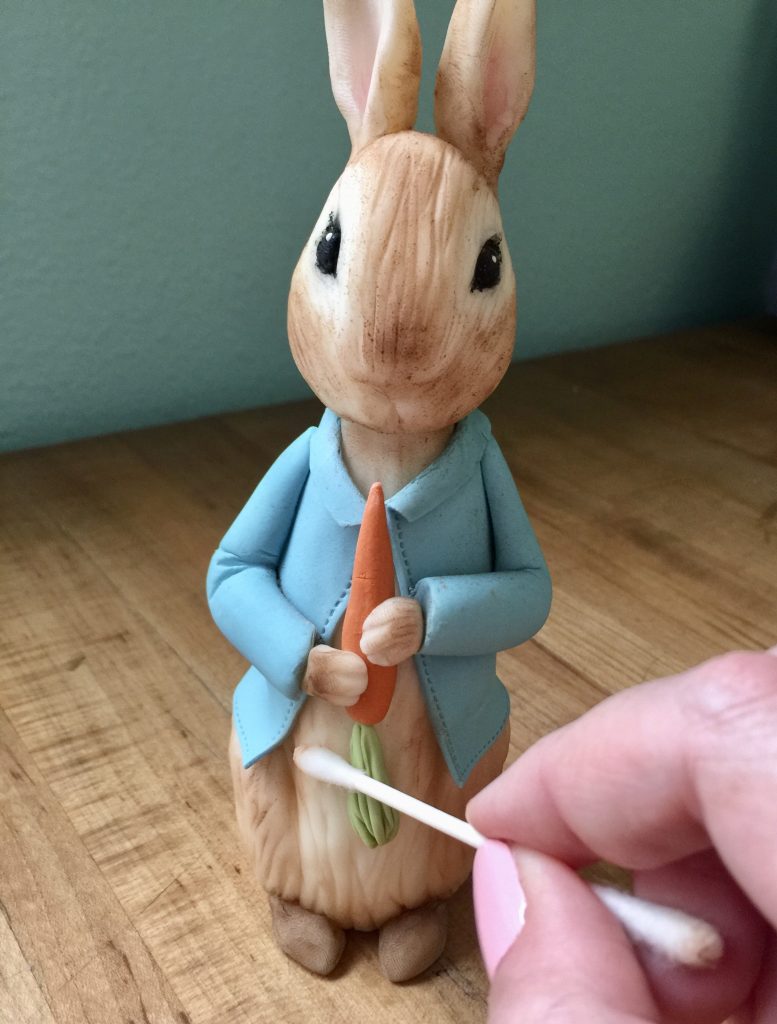

I accidentally got too much brown around one of his eyes, and I wanted to soften the line by his belly. In that case just use a slightly damp q-tip to remove the excess dust.
Paint tiny lines for his nose and mouth.
He’s done!
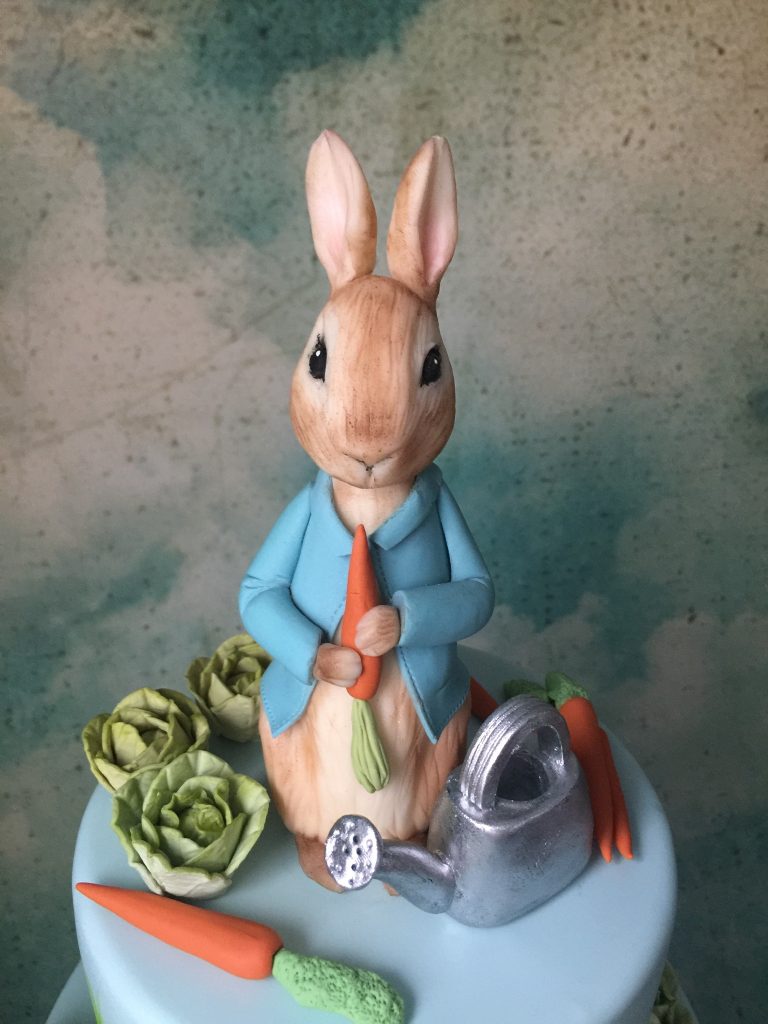
Cute as can be.
You can see how I make the little cabbages here.
Happy baking!!


Hi, I am in the U.K so i am not sure what our alternative to corn syrup would be, i clicked on the link for your modelling chocolate and it states corn syrup, would i be able to use glucose in place of the corn syrup, as it is not available in the U.K
Hi! Good point! I’ve used both with no problems. I’ve updated the ingredients list, thanks!