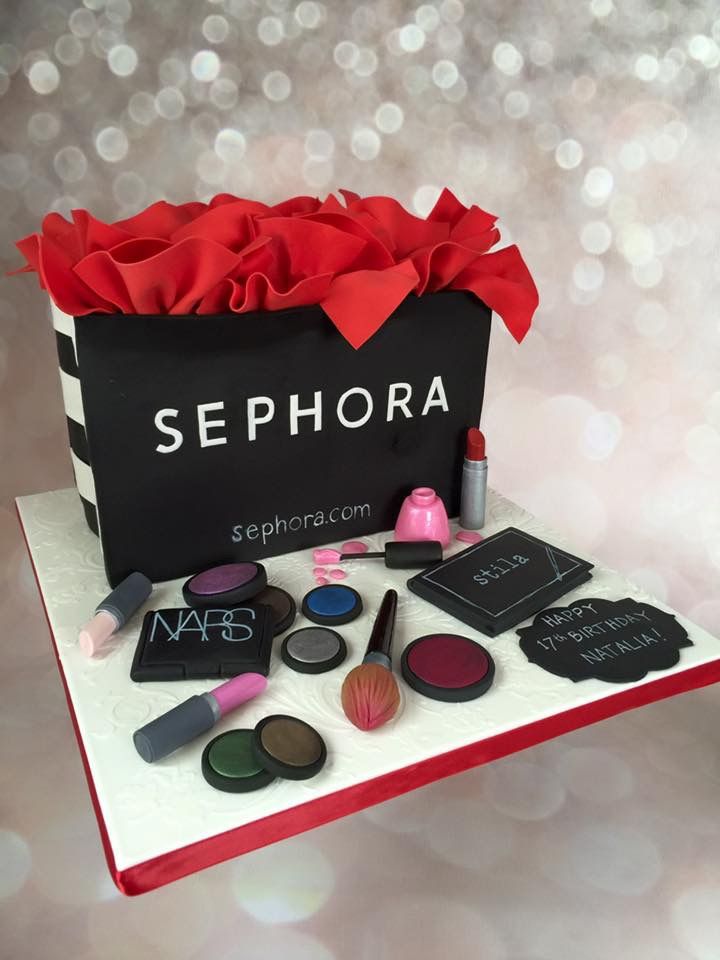
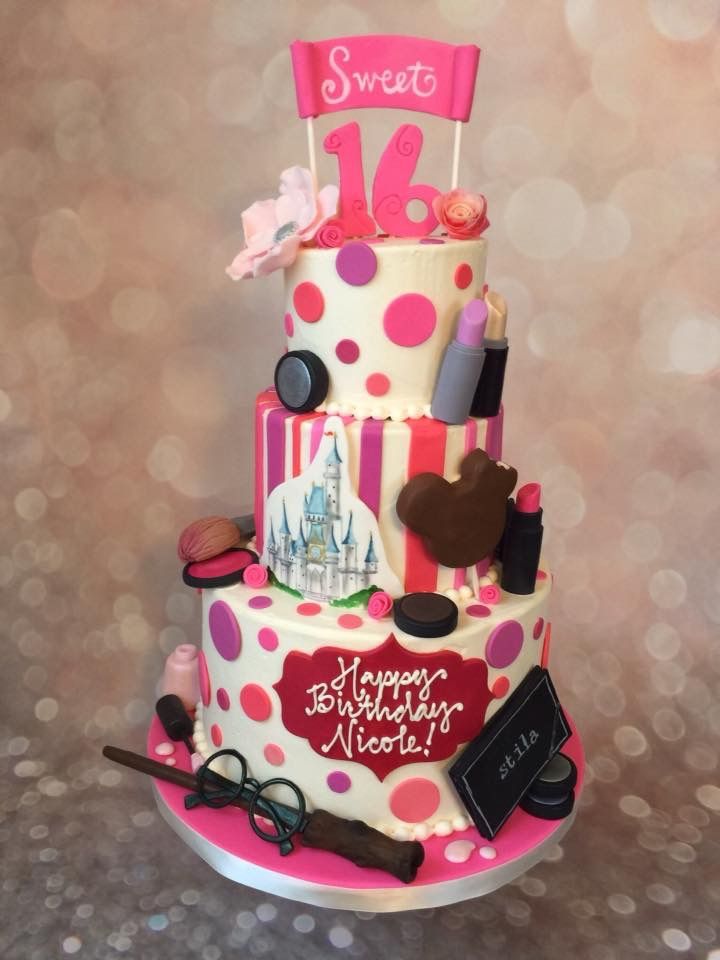
Makeup is such a fun overall theme for a cake, or as one component of the decor, like in this “favorite things” cake (below right).

Making the edible makeup from fondant really is fun, and you can switch up brands and colors to customize.

You’ll need:
- fondant in whatever color you are using as a base (I tend to use black). For nail polish, foundation, and lipstick, you’ll want a bit of fondant in those colors
- assorted luster dusts in whatever colors you like; my color story for this project is neutrals and metallics
- white food coloring and paintbrushes
- everclear, or vodka if you can’t get that
- fondant roller
- fondant smoother
- paring knife or palette knife
- set of circle cutters
- lollipop stick (for nail polish)
- Dresden tool
closed stila compact


I love this compact design because it’s pretty easy to make it look realistic since the artwork on top is in a sketch style. It’s meant to look a bit messy which is very helpful when you’re copying something!
Start by rolling out black fondant to about 3/8” thick, and cut a rectangle about 4” wide by 2.5” high. I tend to use a chef’s knife for this- it makes the cleanest cuts. Just cut straight down. Straighten the edges up with the fondant smoother.
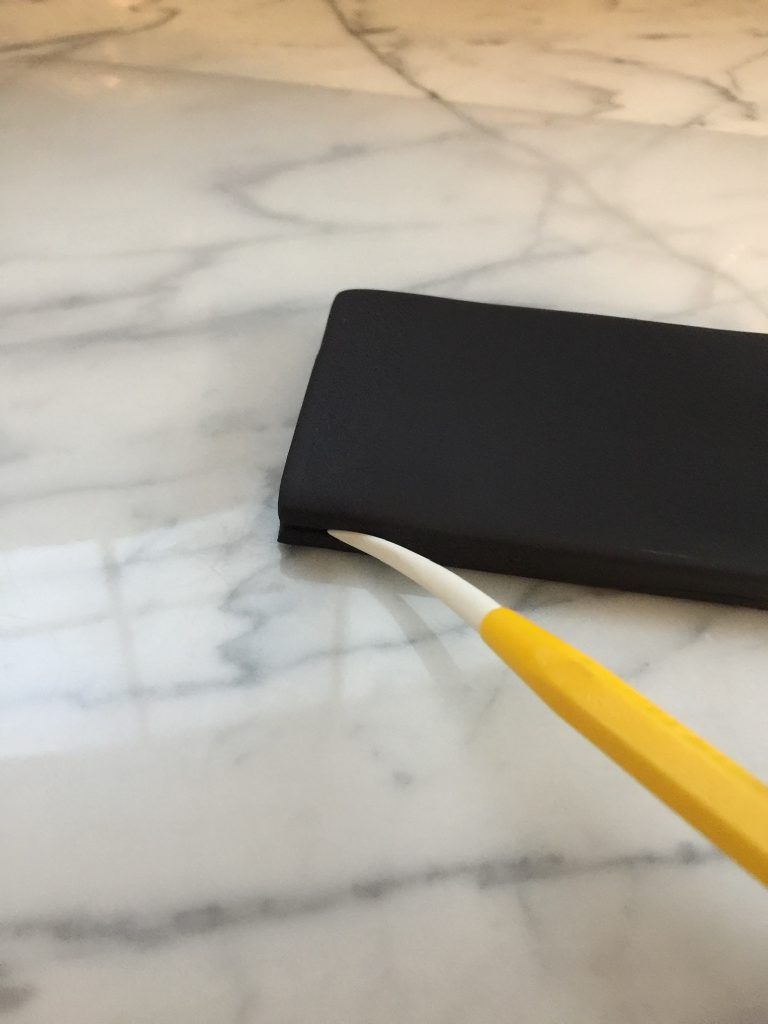

Run a dresden tool around the front and sides, to create the compact “opening”. Paint the logo on top with white food coloring. If you don’t want to paint freehand, you can print the logo and trace it (this post shows how).
individual eye shadows


Roll out fondant about 1/2” thick and cut circles out (these are 1 and 3/4” across). Using the next size down, make an indentation, centering it as much as you can. Repeat with bigger sizes for blush or highlighter if you’d like. If you have the time, leave overnight to dry- this will make handling them without distorting the shape easier.


For each color, mix luster dust and everclear to the consistency of heavy cream. Paint the centers with a very soft brush. I actually use a makeup brush I grabbed at Target (Elf is cruelty free and inexpensive).
foundation bottle


Roll out logs of fondant in whatever skin tone you’re using, and the color of the cap, in equal diameters. Trim the ends and connect the pieces. Add the brand name (for white, just use straight titanium dioxide, sold as white food coloring. For any other color, thin out gel food coloring with everclear or vodka).
nail polish


Roll a fat cone of fondant and trim the top to be flat.


Make a ring by cutting a small circle with a smaller circle cut out from the center (a #5 piping tip works well for the center). Make an indent to suggest the thread lines, and attach to the bottle.
Roll a little log of fondant for the cap, trim the ends and insert a section of lollipop stick. Leave to dry overnight. Make sure to set aside a bit of the fondant to finish up the next day (I neglected to do this once and it was tough to match the color exactly).


Press out a tiny oblong of fondant and wrap it around the tip of the nail polish, thinning the top edge. I like to make little “drops” as well- they look cute on the board next to the bottle. Just roll little balls and flatten them.
A key to making the nail polish look realistic is to make it shiny, which is simple. Just mix equal quantities of everclear and corn syrup and brush it on.
blush/highlighter brush


Roll out a tapered log of fondant for the handle, trim the top end and insert a lollipop stick. Using a Dresden tool, mark lines to look like the metal bit.


Roll a fat teardrop of light brown fondant and attach the fat end to the handle with a bit of water. Run the Dresden tool over it to make the bristles, and brush the tip with the same luster dust as your brush or highlighter pan.
lipsticks


Roll out a log in your lipstick color. When you are close to the diameter you like, roll back and forth lightly with a fondant smoother to make sure it’s uniform. Trim one end flat, the other at an angle. Let dry overnight.


Roll out fondant for the inner part of the case, as thin as possible. Trim to the appropriate length.


Brush with a bit of water and roll around the lipstick, trimming to fit at the back. Let dry.


Roll out the second layer of the case, trim to be slightly shorter than the first, and roll around lipstick as before. Let dry, and paint if desired.

This is how I arranged these particular items. I didn’t like how the cap of the foundation flattened a little more than the body overnight, so I lay a lipstick across it to distract from that seam. You can almost always find a way to hide (or minimize) an imperfection! To attach pieces together that are dry, I do one of two things: melted chocolate, or a teeny ball of fondant, moistened with water.
I also did a mascara for this cake but hadn’t done one before so didn’t take photos since I was figuring it out as I went. Next time I do one I’ll add it here.
I hope you enjoy creating your fondant makeup! I’d love to see photos!
Happy baking!!


This is amazing, Robyn!! I love my makeup and this would be such a fun cake! Your talent is incredible 🙌🏼
Also, I just read your newsletter and I also do little gifts for my kids for Valentine’s Day every year. They love it and I have so much fun. It’s usually just a ballon and a new bowl with a box of “junk cereal” or a little toy and some chocolates but I know they look forward to it and I’m sure they’ll remember it just as you do from your childhood. Have a great weekend! ♥️♥️♥️
https://waterfallmagazine.com
Hey there just wanted to give you a brief heads up and let you
know a few of the images aren’t loading correctly. I’m not sure why but I think its a linking issue.
I’ve tried it in two different browsers and both
show the same results.
That is strange I’m sorry! I’ve checked on three devices and they are loading on this end so hopefully it has been resolved. Thank you so much for letting me know! If they still aren’t loading for you let me know and I’ll investigate further. Thanks again!